
Updated on 2023-02-07
views
5min read
Taking partial screenshots on Windows 10 is as easy as sipping a cup of coffee. However, the fact is, not everyone using Windows 10 is familiar with how to screenshot part of their computer screen. Yes, imagine a scenario whereby you come across essential information on your PC that you would like to screenshot, but you don't want to screenshot the full computer screen, taking a partial screenshot is the ideal to do.
In this post, we would focus on the different reliable methods that any user can always use to screenshot part of screen on Windows computer without any stress. All it takes is just a few clicks, do read on.
Part 1: How to Screenshot Part of Screen or Full Screen on Windows 10 (All-time best solution)
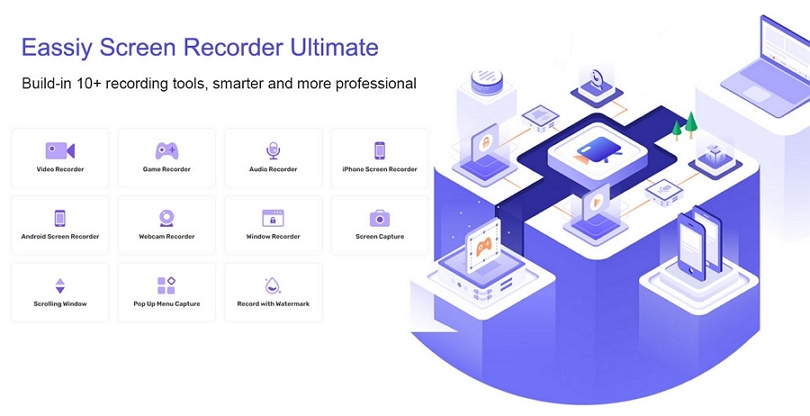
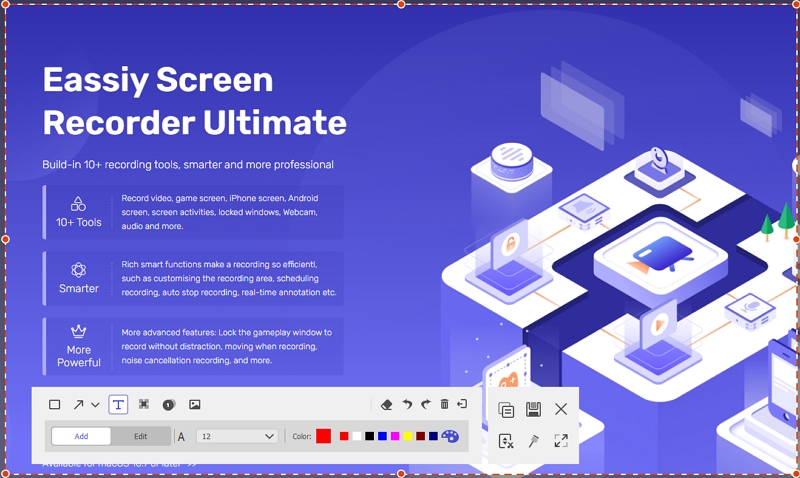
Eassiy Screen Recorder Ultimate is a powerful tool that's highly efficient for not just taking screenshots of part of screen but also recording PC screen in different dimensions. With Eassiy Screen Recorder Ultimate, you can take screenshots in different formats including PNG and GIF, making it for users to make their screenshots static or dynamic without requiring advanced knowledge.
Also, Eassiy Screen Recording facilitates simultaneous screen record and screenshot of computer screen in different dimensions, and the availability of robust editing tools like real-time annotation, auto-split, and lots more editing screenshot output is just like a walk in the park. In all, the Eassiy Screen Recorder Ultimate is very competent for both basic and advanced screenshot operations.
Key Features
- Versatile video editing features to cut, trim, and do lots more on screenshots.
- Easily add annotations to screenshots in real-time to highlight important elements.
- Supports customizable hotkeys for controlling screen capture.
- Take scrolling screenshots in different dimensions while recording the PC screen in just one click.
- Save screen capture in GIF and other types of popular formats.
- Capture the pop-up menu without stress.
- More than 10 recording tools to record Mac screen, windows screen, iPhone screen and Android phone screen.
How to take a Partial Screenshot on Windows 10 with Eassiy Screen Recorder Ultimate
Step 1. Download and install the Eassiy Screen Recorder Ultimate software on your Windows 10 computer from the official website.
Step 2. Start the Eassiy Screen Recorder Ultimate program > navigate to the top bar and click on the three-line icon.
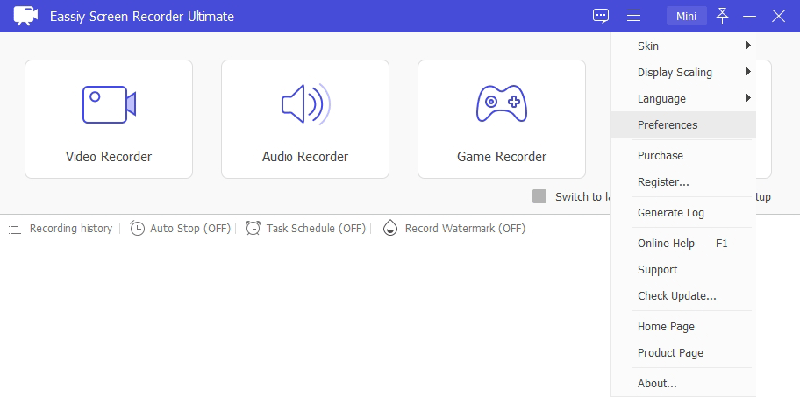
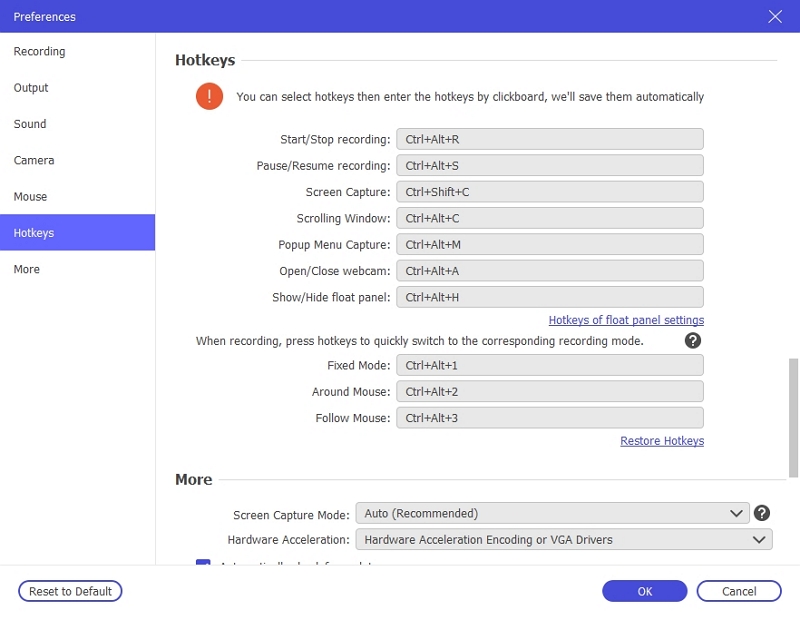
Step 3. Click on ‘Preferences‘ from the new page and select settings for hotkeys, mouse tracking, and screenshot output format. Then click OK to save settings and proceed.
Step 4. Take screenshots using hotkeys, or click on ‘Snapshot’ on the Eassiy Screen Recorder Ultimate home interface. Then a ‘Cross Cursor’ will appear on your PC screen. Drag the cross cursor to highlight the part of your PC screen to screenshot. You can also screenshot the PC full screen by highlighting the whole page.
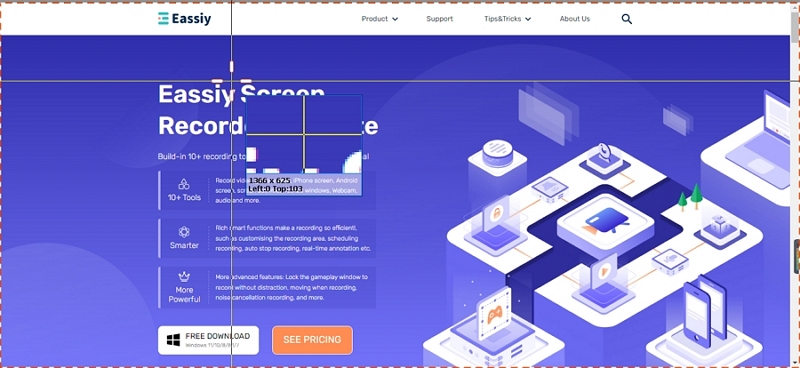
Step 5. On selecting the part of the PC screen to screenshot, a fully featured toolbar will appear instantly with robust editing tools to add text, lines, arrow, and lots more to your screenshot.
Step 6. Finally, once you're done editing your screenshot, click Save to select location storage and save the screenshot.
As you can see, the steps to partially screenshot on Windows 10 and edit the output with Eassiy takes only a few clicks. However, the functionality of Eassiy doesn't end there as it can be used to record PC screens fully or partially with HD quality.
Part 2: How to Partially Screenshot on Windows 10 Using Free Tools
Besides using advanced screen capture software, there are other free built-in tools that can always come in handy when you want to only screenshot part of screen Windows 10. Read on to see what these tools are and how you can use them to partially screenshot Windows 10.
Method 1: Screenshot part of screen Windows 10 with Snipping tool
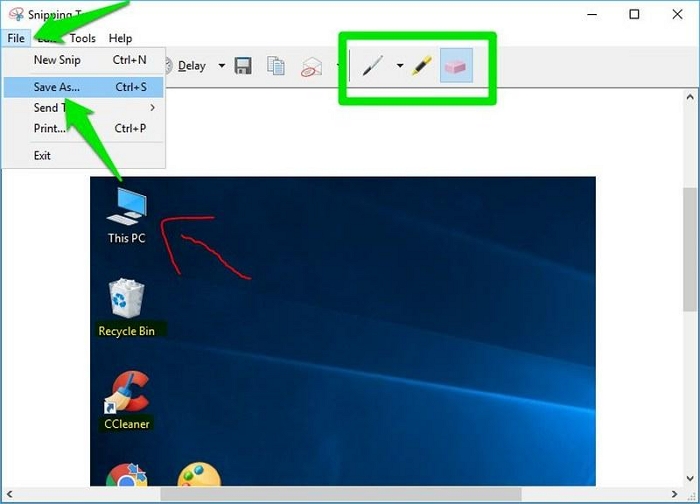
Snipping tool is an ideal screen capture tool for anyone looking to partially screenshot Windows 10 computer screens without installing a third-party tool. Yes, the tool is very simple to utilize and supports lots of helpful features that allow users to screenshot PC screen in either fully or partially. With the Snipping tool, you can easily draw on screenshots, add texts, and do lots more seamlessly on your screenshot using a simple annotator. Besides, screenshots made via the Snipping tool can either be saved in image or HTML format. See the steps below to learn how to screenshot part of the screen on Windows 10 with this tool;
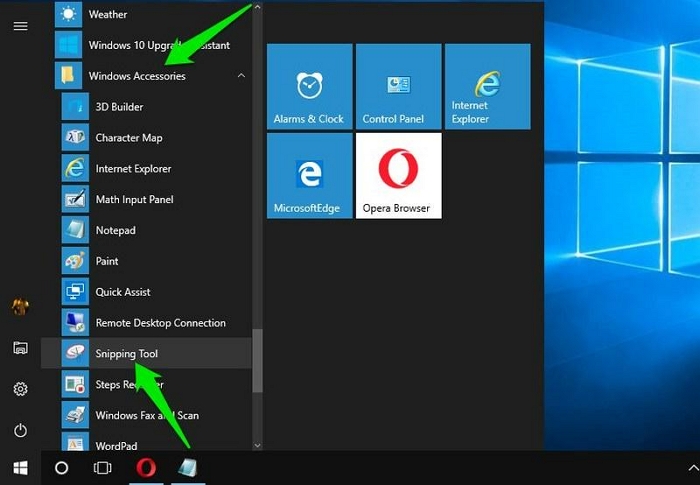
Step 1: Navigate to the bottom left corner of your computer screen and click on the ‘Windows’ icon, then search for ‘Snipping tool’ and click on it.
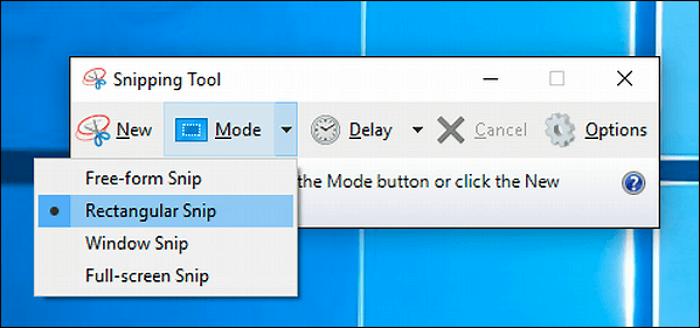
Step 2: A pop-up will appear on your screen after clicking the Snipping tool. Select ‘Mode’, then click ‘Rectangular Snip’.
Step 3: A Cross cursor will be prompted after selecting the preferred screenshot mode. Just drag it to select the rear of your PC screen to screenshot.
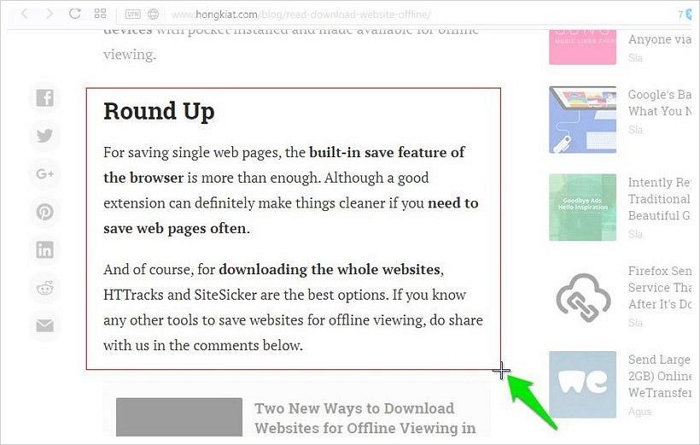
Step 4: The snipping tool will partially screenshot your computer screen and paste it into its built-in annotator to edit the screenshot. Afterward, you can save the image to a preferred location on your PC.
Method 2: Screenshot Part of Screen Windows 10 with Windows + Shift + S or Snip & Sketch
Windows 10 also supports hotkey combinations that can be used to screenshot part of the screen seamlessly. Instead of going through the process of searching the ‘Snipping tool’ first, users can easily click on Windows+Shift+S simultaneously to capture a preferred part of their PC screen. Windows screenshot via hotkey combination is more straightforward compared to using the Snipping tool. However, there's no free editing tool to paste the screenshot. Instead, you have to open the Paint or MS word program on your PC to edit the screenshot. Here are the steps to use Windows+Shift+S to screenshot part of the PC screen.
Step 1; Simultaneously click Windows+Shift+S on your keyboard.
Step 2: Drag the cross cursor to select a part of your PC screen. By doing so, the selected part of your screen will be screenshot and copied to your computer clipboard.
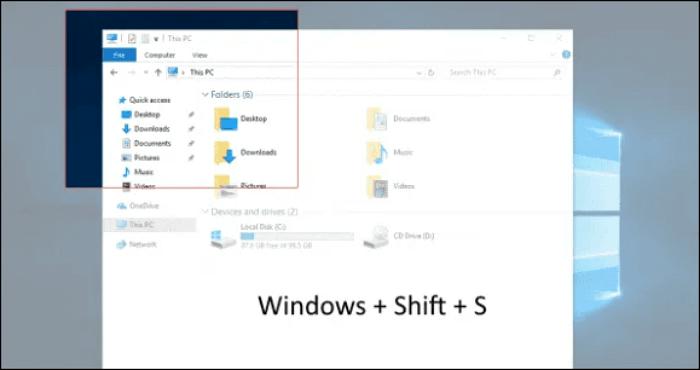
Step 3: Launch Paint or MS word and click ‘CTRL+V to paste the screenshot you just made. Then right-click on it to Save the screenshot to a preferred location on your PC.
Method 3: Screenshot part of Windows with PrintScreen key
Although the Windows PrintScreen key is an old fashioned style of taking a screenshot PC screen, it can still come in handy in situations where you want to screenshot part of Windows 10 quickly. All you just have to do is to click on the PrtScn key on your keyboard, and your PC's entire screen will be copied to its clipboard instantly. Afterward, you can just paste the screenshot to the MS word program or Paint to crop the part of the screenshot you want to save.
Follow the stepwise guide outlined below to use the PrintScreen key to screenshot part of Windows 10:
Step 1: Click on ‘PrtScn’. By doing so, your PC full screen image will be copied to the clipboard.

Step 2: Open MS Word and click on ‘CTRL+V. Then crop out the part of the screenshot you need.
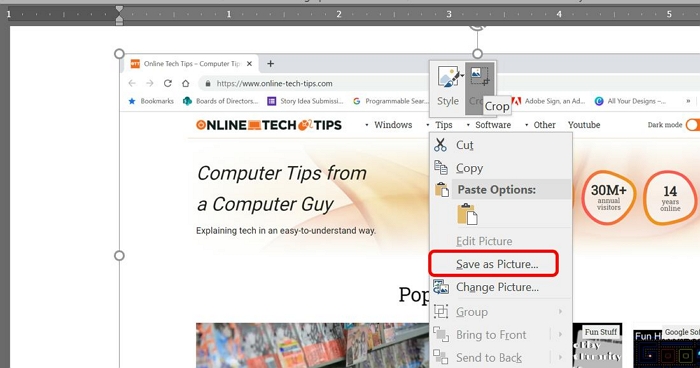
Step 3: Finally, right-click on the screenshot, then select ‘Save’ from the menu list that shows up on your screen.
Conclusion
This post has covered all 100% working methods anyone, including non-tech savvy, can utilize to screenshot part of Windows 10. You can either use the Snipping tool, hotkey combination, the PrintScreen key, or a powerful screen recording software like Eassiy Screen Recorder Ultimate. Irrespective of the screenshot method you're looking to use, just make sure you follow the steps correctly. But in all, we recommend using Eassiy Screen Recorder Ultimate to avoid any kind of complications during the screenshot process.