
Updated on 2026-04-10
views
5min read
Amazon Prime Video allows you to download content for offline viewing, but the app restricts direct downloads to external storage devices such as USB drives. If you're looking to store videos on a USB drive for easy access and to free up space on your computer, this guide will show you how to bypass these limitations and download Amazon Prime videos to a USB drive.
Why Can't You Directly Download Amazon Prime Videos to a USB Drive?
Amazon Prime Video doesn’t allow direct downloads to a USB drive due to DRM (Digital Rights Management) protection. Videos are saved to a default folder (C:\Users\UserName\AppData\Local\Packages\AmazonVideo.PrimeVideo_pwbj9vvecjh7j\LocalState\Downloads) on your device, and this DRM encryption prevents you from transferring or playing them on other devices or media players like VLC.
However, you can change the download location in the app’s settings to save videos to your USB drive. Even then, DRM restrictions will still prevent you from playing or transferring the files freely outside the app.
For those looking for a more flexible solution, screen recording software provides an alternative way to save videos for offline viewing in a playable format such as MP4.
Method 1: Use Eassiy Screen Recorder to Save Videos to USB
Using Eassiy Screen Recorder Ultimate is a practical way to capture videos playing on your screen and save them directly to your computer. You can later transfer the recorded files to a USB drive for offline viewing on any compatible device.
Step 1. Launch the screen recording software on your computer and select the Video Recorder mode.
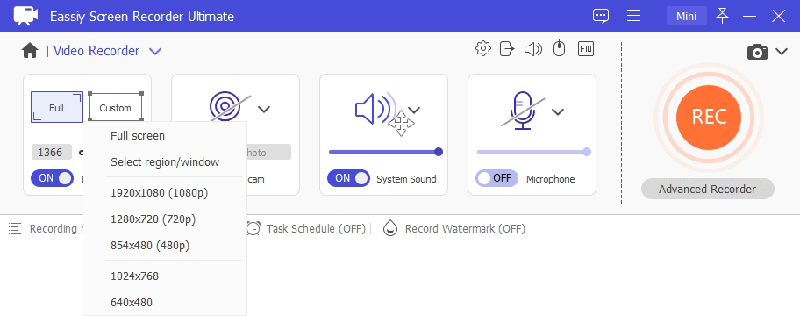
Step 2: Choose the recording area. You can record the full screen or select a specific window where the video is playing.
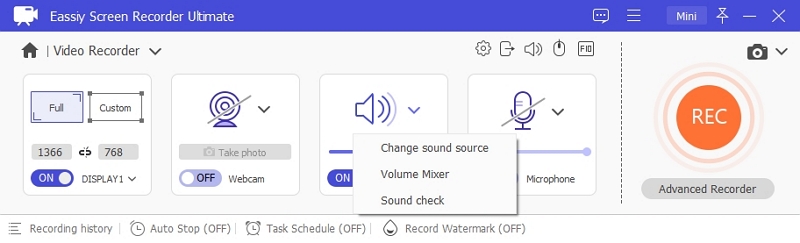
Step 3: Enable system sound to capture audio. You may also enable microphone input if narration is needed.
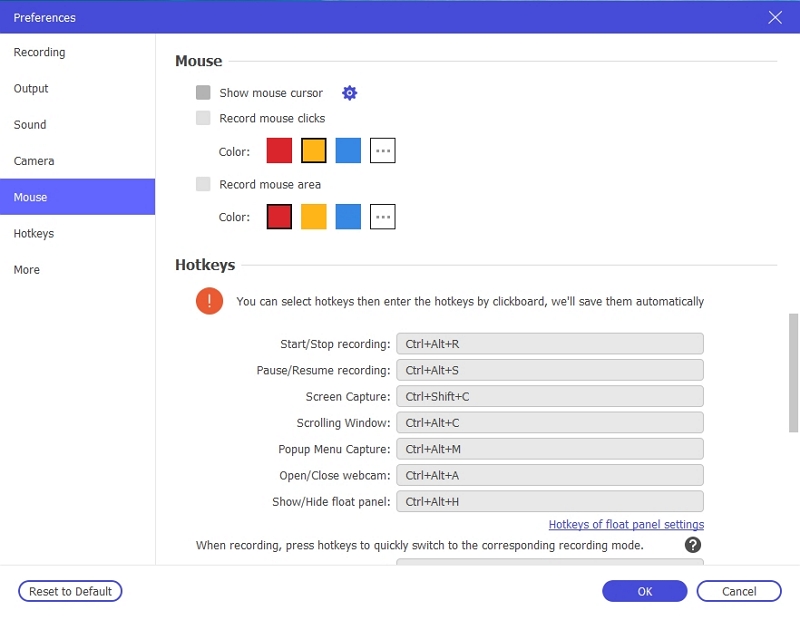
Step 4: Open settings to adjust output format, quality, hotkeys, and other preferences before recording.
Step 5: Click the REC button to start recording the video playing on your screen.
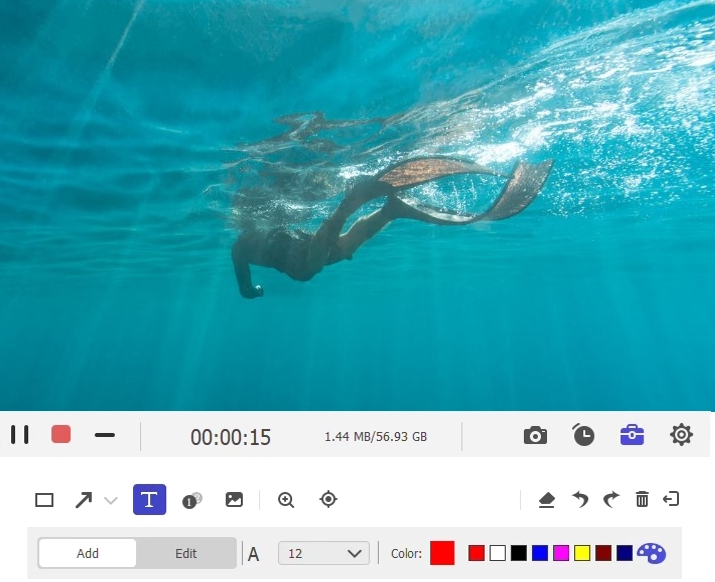
Step 6: When finished, click the stop button to save the recorded file to your computer.
Step 7: Connect your USB drive to the computer and copy the saved video file from the local folder to the USB storage.
Why Choose Eassiy Screen Recorder?
- Capture any video playing on your screen in high quality
- Save recordings in widely supported formats like MP4
- Flexible recording modes (full screen, window, or custom region)
- Easy transfer to USB or other external storage devices
- No dependency on platform-specific download restrictions
Another Workaround: Changing the Download Location to a USB Drive
If you want to save Amazon Prime Video downloads directly to a USB drive, there is a workaround by changing the default storage location in the Amazon Prime Video app settings. However, it’s important to keep in mind that due to DRM (Digital Rights Management) protection, there are significant limitations to this method.
Limitations Due to DRM Protection
1. No Third-Party Media Players: The downloaded videos on your USB drive cannot be opened or played using third-party media players, such as VLC or Windows Media Player. You can only watch these videos within the Amazon Prime Video app that originally downloaded them.
2. No File Transfers: Even though the videos are saved to the USB drive, they cannot be transferred to another device for offline viewing. Any attempt to do so will result in errors or file corruption. This is due to the fact that DRM locks the content to a specific device and app, preventing it from being accessed or played on unauthorized devices.
3. Viewing Restrictions: You will only be able to watch the videos on the device where you made the download and with the same Amazon account that was used to download the content. This means that while the files are physically stored on your USB drive, you won’t be able to freely move them to other devices or platforms for playback.
How to Change the Default Storage Location to a USB Drive
Step 1: Open Amazon Prime Video App
Start by launching the Amazon Prime Video app on your computer (Windows or macOS).
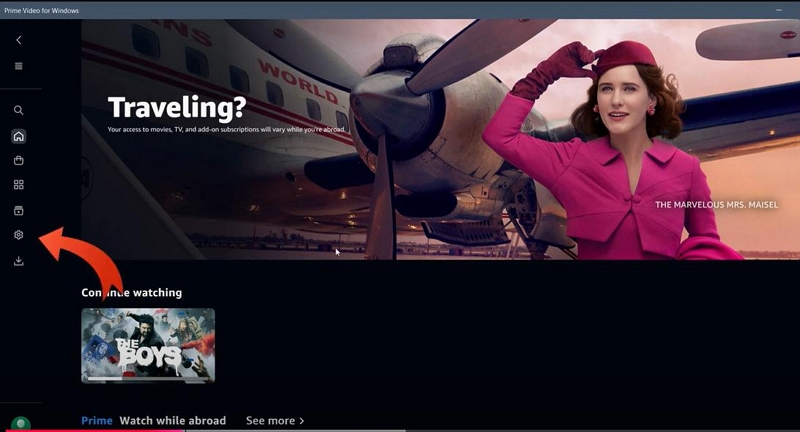
Step 2: Access Settings
Navigate to the settings menu within the app. This can typically be found by clicking on the three horizontal lines or profile icon in the upper right corner.
Step 3: Choose 'Download Settings'
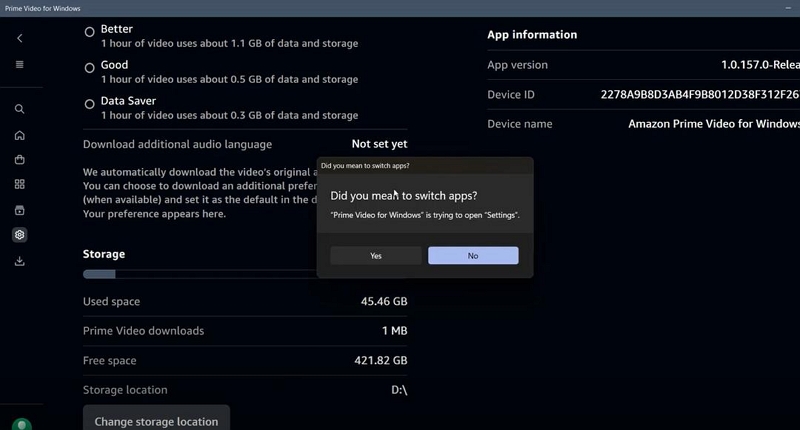
Look for an option that says “Storage” In this section, you’ll see the current location where downloaded videos are being saved.

Step 4: Change the Download Location
Select "Change storage location" and then click "Yes" to switch to windows "Setting".
Find the Prime Video app and click on the three dots on the far right to select "Move".
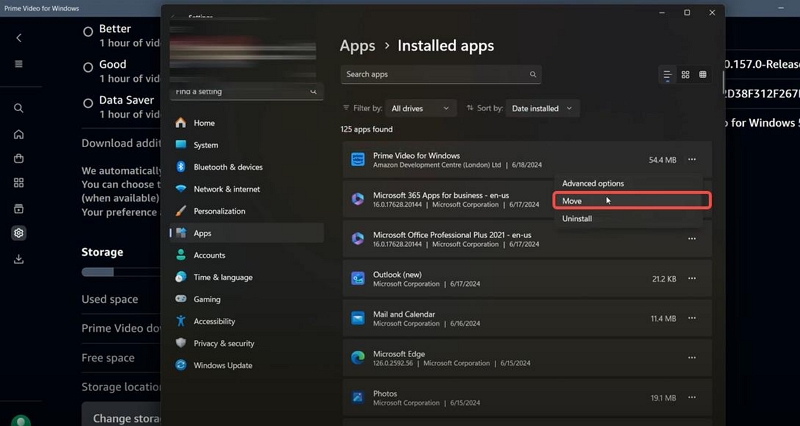
Browse to your USB drive, choosing it as the new storage location and click "Move".

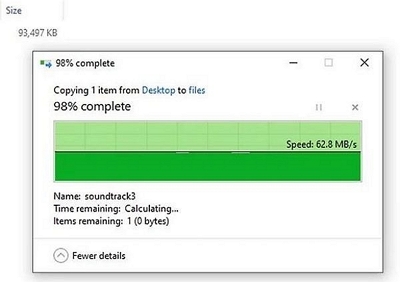
It will take several minutes for the transfer to succeed.
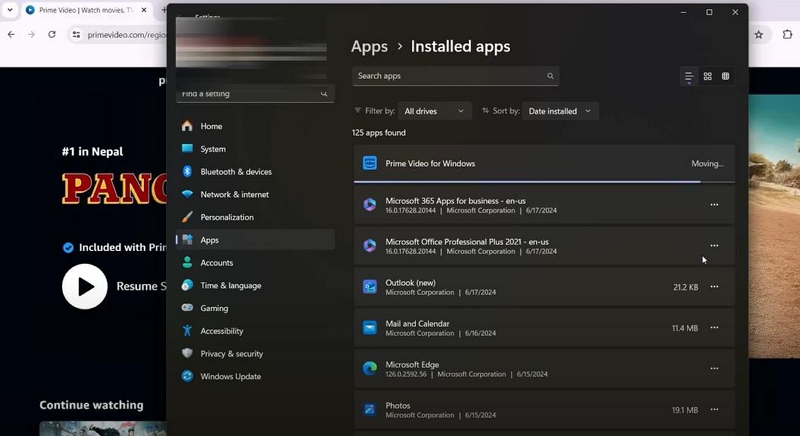
When you finally go back to Prime Apps you will see that the storage address has changed.
Once you've changed the location, any future downloads from Amazon Prime Video will be stored directly on the USB drive instead of your computer's internal storage. This can be useful if you’re running out of space on your PC or want to transfer downloaded videos to a different device. Additionally, the number of downloads is limited, typically ranging from 15 to 25, depending on your region.
How to Play Downloaded Videos from a USB Drive
After downloading videos to a USB drive, you may want to play them on different devices offline. While DRM restrictions from Amazon Prime Video prevent the use of third-party players for Amazon content, you can still play the downloaded videos on compatible devices. Below are steps for playing downloaded videos from a USB drive, depending on the device you are using:
Playing on a TV
- Insert the USB Drive: Plug your USB drive into the USB port on your TV.
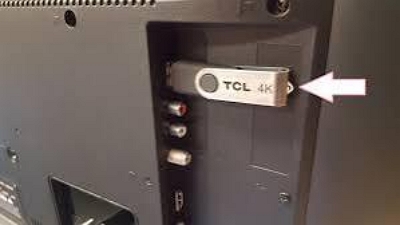
- Wait for Detection: Allow the TV to detect the external USB drive automatically.
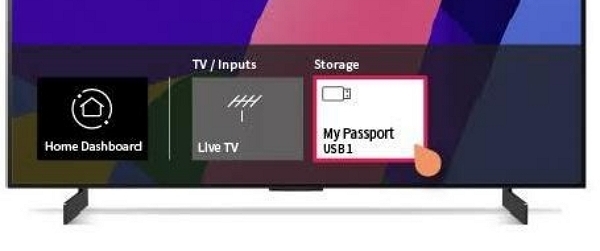
- Select the Video: Use your TV remote to navigate to the media source or "USB" option. From there, browse the files on your USB and select the video you want to watch.
Playing on a Computer
- Connect the USB Drive: Insert the USB drive into a USB port on your computer.
- Open File Explorer (Windows) or Finder (Mac): Navigate to the USB drive in the file manager and open the folder where your videos are stored.
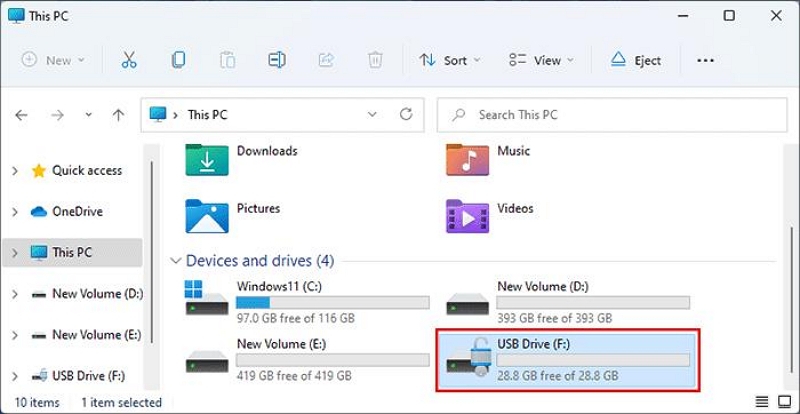
- Play the Video: Double-click on the video file to open it in the default video player on your computer.
Tip: If you prefer using a specific video player (e.g., VLC), right-click on the video file, select “Open With”, and choose your preferred player from the list.
Playing on a Tablet or Smartphone
- Use an OTG Adapter: To connect your USB drive to your tablet or smartphone, you’ll need an OTG (On-The-Go) adapter. Make sure the adapter is compatible with your device's charging port.
- Connect the USB Drive: Plug the USB drive into the OTG adapter, and then insert the adapter into your tablet or smartphone.
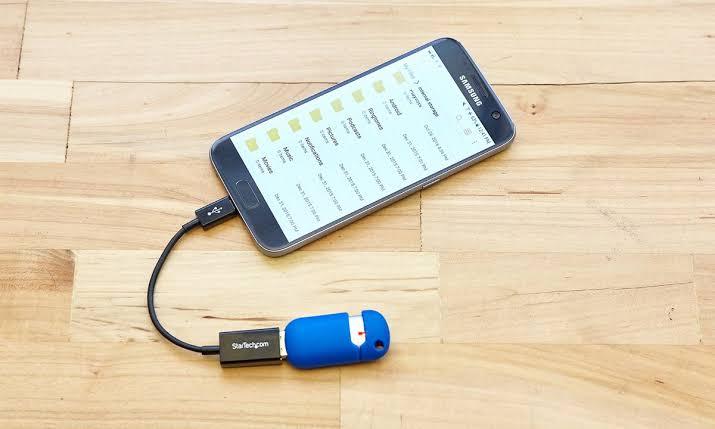
- Access Files: Open the File Manager or Files app on your device. Locate the USB drive and browse to the downloaded video files.
- Play the Video: Tap on the video you wish to watch. It should open in the device’s default media player for playback.
Conclusion
While changing the download location to a USB drive is a helpful workaround for storing Amazon Prime Video content externally, the DRM restrictions will still apply. This means that you won't be able to use third-party media players, and the content will remain locked within the Amazon Prime Video app. If you're looking for more flexibility with your downloaded content, consider exploring third-party software options or alternative storage methods.