
Updated on 2026-06-11
views
5min read
Downloading apps on iPhone is usually a one-look affair. You just find an app, double-click the side button, glance at your phone, and you’re good to go. But if you've never set up Face ID or your Face ID simply doesn’t work with App Store, that smooth experience falls apart fast. Don’t worry, this guide is here to help. We will first walk you through how to download apps with Face ID from scratch, including setup and usage. Then we will show you what to do when Face ID becomes stubborn and doesn’t work on app downloads. Finally, if you want to go further and lock individual apps behind Face ID for extra privacy, we have got you covered too!
How to Download Apps with Face ID on iPhone
Face ID does more than just unlock your iPhone. This neat feature also lets you download apps faster, securely and hands-free, which is a lot more convenient than always typing your Apple ID password. Instead of remembering your login details or fumbling with a keyboard, a quick look at your phone is all it takes.
But before you can breeze through App Store downloads by looking at your iPhone, three things need to be in place: you have to set up Face ID, you must authorize the App Store to use it, and you need to know what to do when the install pop-up appears. Do the following to get all three sorted.
Step 1 (Optional): Set Up Face ID on iPhone
If you've already set up Face ID, skip to Step 2. But if you haven't gone through its set-up process yet, start here. The following is how to set up Face ID on iPhone:
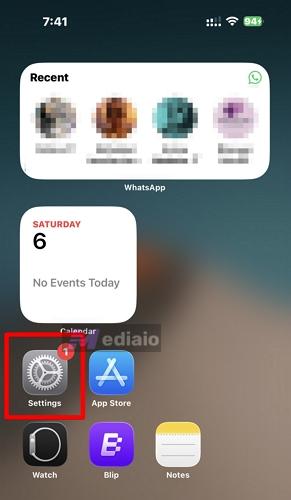
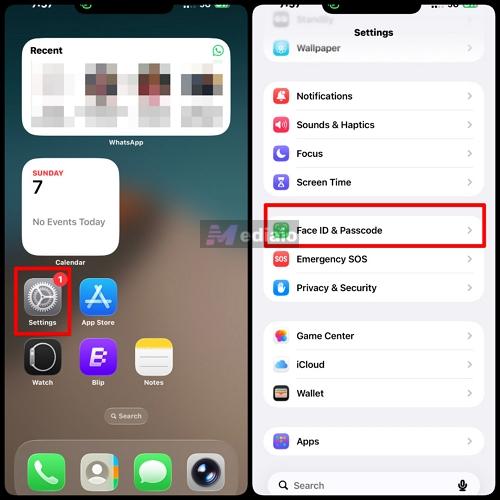
- Open the Settings app.
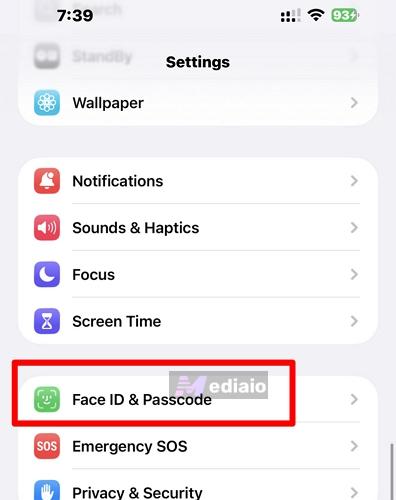
- Scroll down to select Face ID & Passcode.
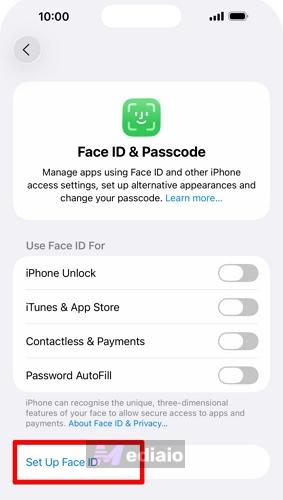
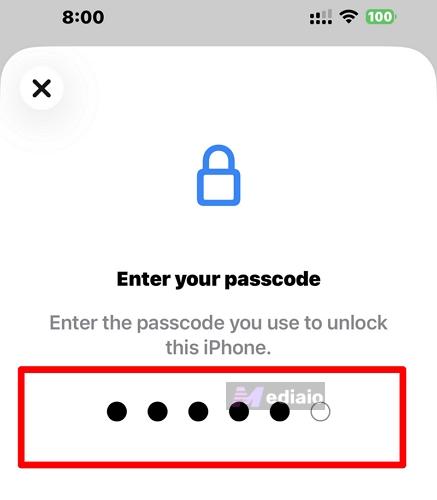
- Enter your iPhone passcode when prompted and then hit Set Up Face ID.
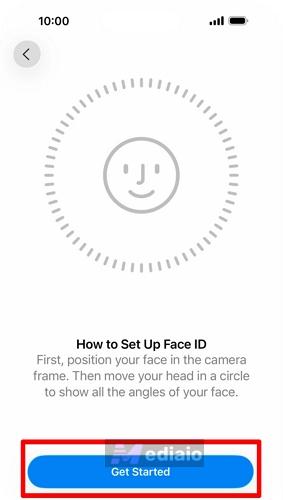
- Tap Get Started and hold your iPhone in portrait. Then position your face inside the frame you see on screen.
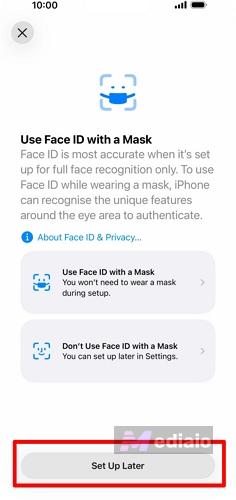
- Move your head in a circle slowly to complete the first scan and do the same for the second scan. You can also set up Face ID to work while you’re wearing a mask or just tap Set Up Later to do so another time.
- Choose Done to finish.

If setting up Face ID fails, ensure your face isn't partially blocked and the lighting is good. Also make sure the TrueDepth camera isn't blocked by the screen protector.
Step 2: Enable Face ID for App Store
Note that setting up Face ID doesn't mean you’ll be able to automatically use it to install or buy apps on App Store. Instead, you need to grant App Store the permission to use your Face ID after setup. Many users miss this step and that's exactly why they end up typing their Apple ID password every single time they download an app and mistakenly think that Face ID is unavailable. So, follow these steps to enable Face ID for App Store:
- Go to Settings and select Face ID & Passcode.
- Enter your passcode to continue.
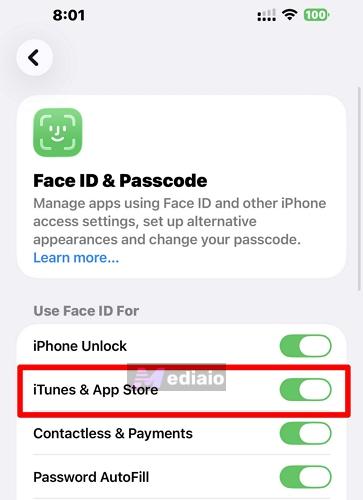
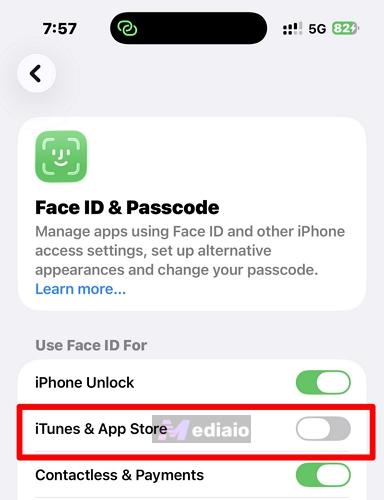
- Under the Use Face ID For section, toggle on iTunes & App Store.
Step 3: Install Apps with Face ID
With Face ID enabled for the App Store, downloading apps is very quick:
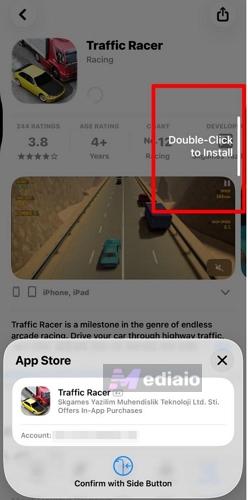
- First, open the App Store and find the app you want to install. Hit the Get or price button.
- A prompt will appear asking you to Double Click to Install (or Double Click to Buy for paid apps).
- Double-click the physical Side Button on the right edge of your iPhone, not the screen (a lot of first-time users often get this wrong and tap the screen instead).
- Glance at your iPhone to authenticate with Face ID. The app will start downloading immediately. If Face ID fails the scan, the iPhone will fall back to asking for your Apple ID password.

![]()
Face ID Not Working for App Store or Downloading Apps (Fixed)
Does your Face ID work fine when unlocking your iPhone and logging into apps, but when it comes to the App Store, it’s a different story? You’re not the only one because the same is true for a surprising number of people. If yours keeps asking for an Apple ID password instead of Face ID, do the quick check first. If the trouble persists, try one of the fixes below.
Quick Check: Ensure TrueDepth Camera Isn't Blocked
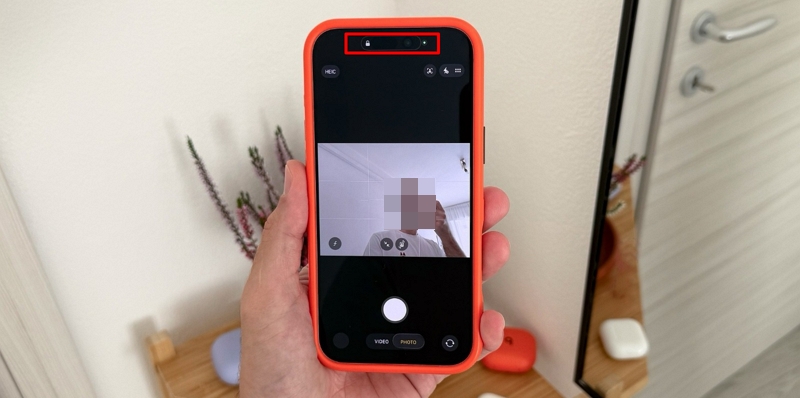
Follow this check if Face ID doesn't unlock your iPhone at all. A blocked or dirty TrueDepth camera affects Face ID across the entire iPhone, so if it unlocks your phone normally, then the camera is fine and you can skip straight to the fixes below.
Face ID relies on the TrueDepth camera in the notch (or Dynamic Island) at the top of your iPhone. If anything physically blocks it, Face ID will fail everywhere, not just in the App Store.
- Check for dust, smudges, or debris on the notch area and wipe it with a clean, dry cloth.
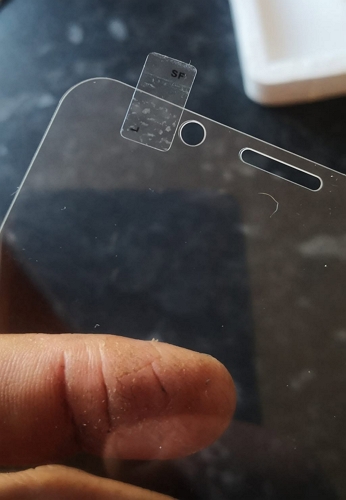
- If you're using a screen protector, make sure it doesn't cover the top sensor area. Some cheap or improperly cut protectors do exactly this.
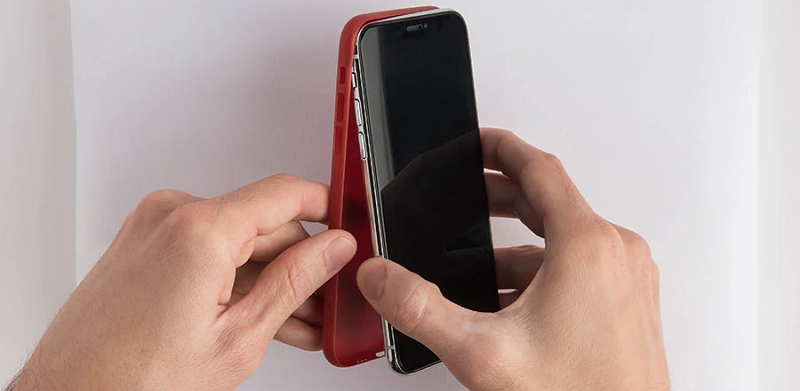
- Remove any thick iPhone case that might be partially covering the top of the phone.
This check takes under a minute and eliminates one of the most frustratingly simple causes. If the camera is clear and Face ID still isn't working in the App Store, move on to the fixes below.
Fix 1. Re-enable Face ID for App Store
This works for most people who complain about Face ID not prompting when downloading apps. Even if the iTunes & App Store toggle is on, simply turning it off and back on again refreshes and re-establishes the link between Face ID and App Store.
Based on Reddit community reports, this fix works most of the time, particularly when the problem happens after an iOS update. Both double-click Side Button prompt and Face ID scan should both return to normal after this.
- Open Settings and choose Face ID & Passcode.
- Enter your passcode. Under Use Face ID For, toggle off iTunes & App Store.
- Wait a few seconds, then toggle it back on.
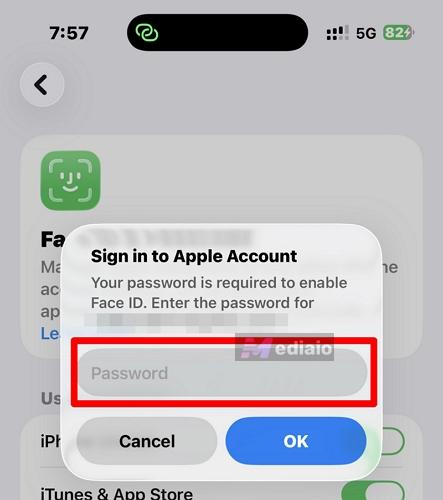
- You'll be prompted to enter your Apple ID password. Do so.
- Head back to the App Store and try downloading an app to check if the problem is gone.
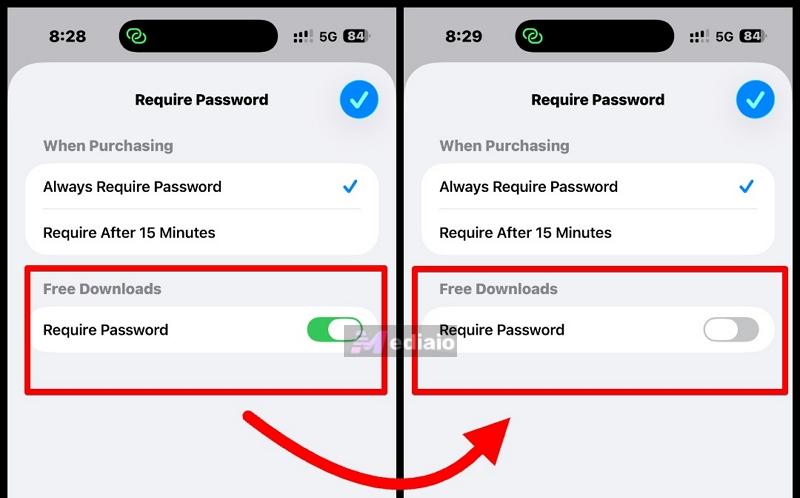
Fix 2. Turn On "Require Password" for Free Downloads
Is your App Store asking for password instead of Face ID? The solution to this sounds strange, but it really works.
When you turn off "Require Password" for free downloads in Media & Purchases, some iOS versions disable Face ID by mistake. So, instead of letting you use Face ID, they'll start asking you to type your password. Simply turning it on and then back off can reset that behavior. Why? Toggling it on and then back off acts as a soft reset for that specific setting. It essentially clears the mix-up without touching anything else and Face ID should take over again from there.
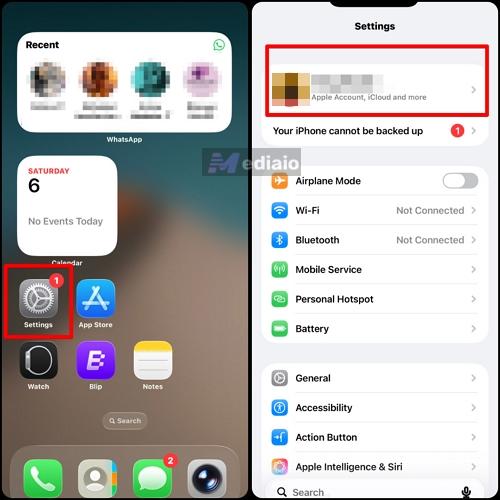
- Go to Settings and select your Apple ID name at the top.
- Choose Media & Purchases, then select Password Settings.
- Under Free Downloads, toggle Require Password on. Exit Settings, then go back in and toggle it off again.
- Return to the App Store and test.

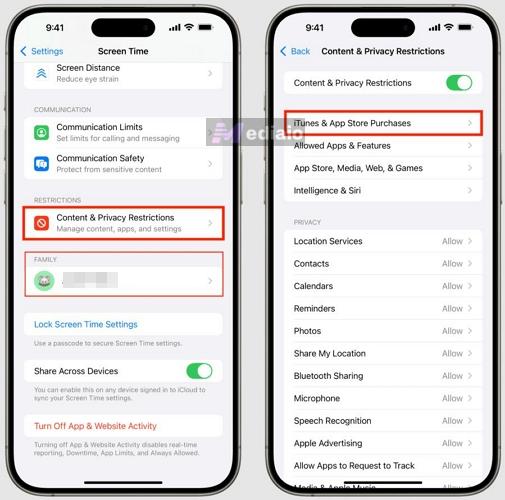
If Media & Purchases option is greyed out, Screen Time restrictions could be the hidden culprit. This is especially true on devices that have parental Content & Privacy Restrictions enabled.
Screen Time can silently override Face ID behavior without giving any obvious sign it's doing so. To solve this, go to Settings > Screen Time > Content & Privacy Restrictions > iTunes & App Store Purchases > Require Password, and make sure it's set to Don't Require.
Bonus: How to Put Face ID on Apps iPhone
Downloading apps with Face ID is great and super convenient, but you can also use Face ID to lock individual apps so that no one else can open them on your device. This is perfect for banking apps, password managers, or anything that has your sensitive information. Starting from iOS 18, iOS provides a built-in feature to lock apps. The locked app requires Face ID, Touch ID, or your passcode to access, every time the app is opened, even if your iPhone is already unlocked. Here's how to set it up:
Steps to Add Face ID to iPhone Apps
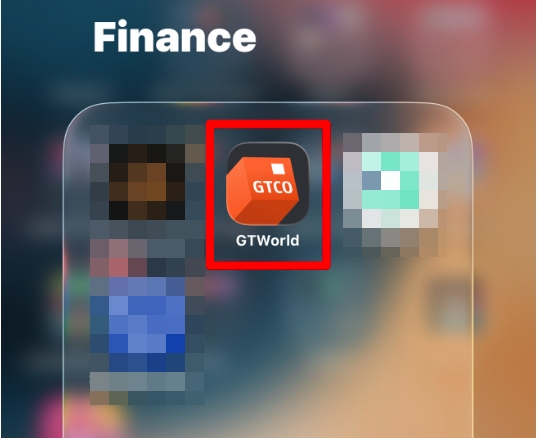
- Go to the Home Screen and find the app you want to lock.
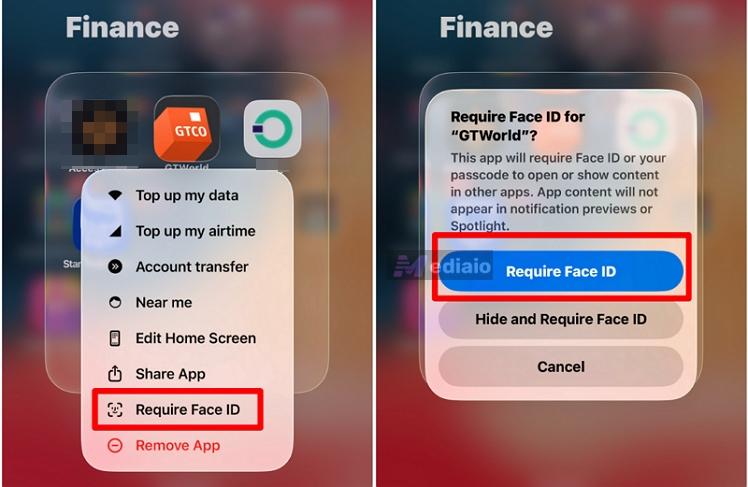
- Touch and hold the app icon until the Quick Actions menu pops up. Choose Require Face ID (or Touch ID or Passcode, depending on your device). Confirm the selection by tapping Require Face ID again.
- Press the locked app. When prompted, authenticate with Face ID to confirm the lock is active.
The app will now require a scan every time it is opened. Once you close it, it relocks automatically. But some native iPhone apps cannot be locked this way, including Calculator, Camera, Clock, Contacts, Find My, Maps, Shortcuts and Settings.
That’s the most convenient way to lock apps with Face ID, but the alternative method below works perfectly well too. It uses App Limits under Screen Time to require Face ID (or your Screen Time passcode) once the time limit ends. Here's how to add Face ID to iPhone apps on iOS 18 or later via Screen Time to restrict app usage.
- Open Settings and select Screen Time.
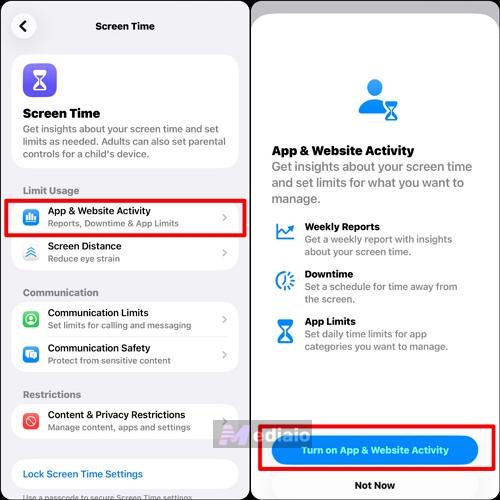
- If screen time is off, tap App & Website Activity and choose Turn On App & Website Activity.
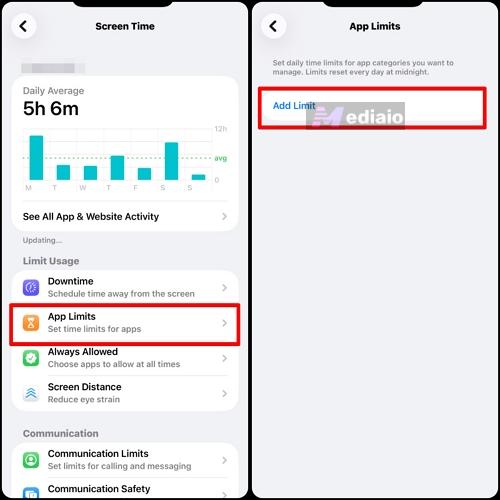
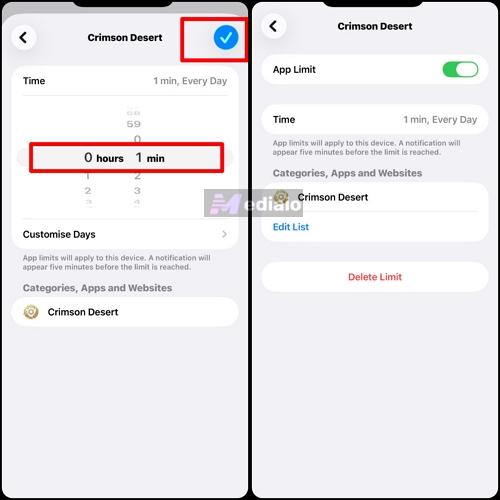
- Select App Limits. Then hit Add Limit.
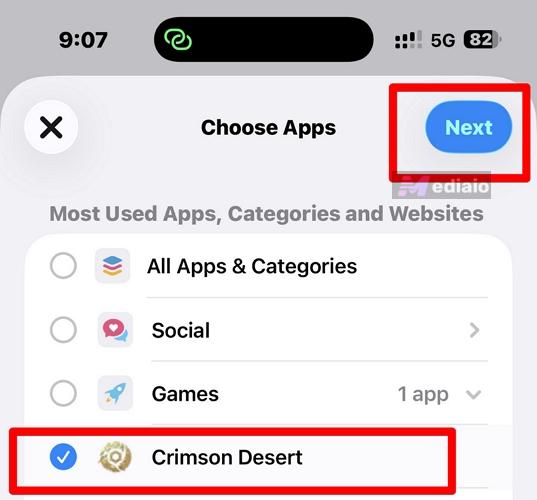
- Browse or search for the app you want to lock. Select it and choose Next.
- Set the time limit to 1 minute (the minimum). Then toggle on Block at End of Limit and select Add.
- Now, when the time limit kicks in, the app will be locked behind a Screen Time passcode prompt. If Face ID is linked to Screen Time, it will use that for authentication. That’s how to put Face ID on apps iPhone in seconds!
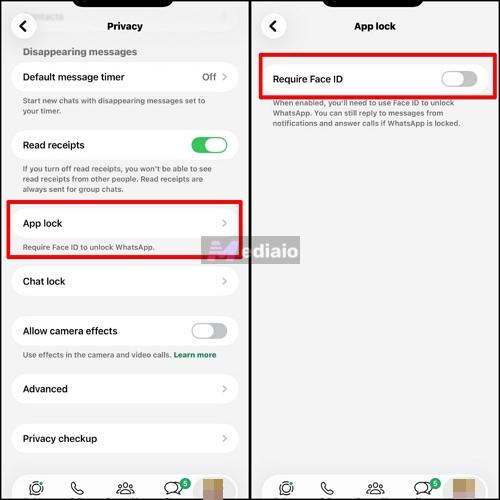
For a smooth Face ID lock experience on individual apps, many third-party apps (especially banking and finance apps) have a native Face ID lock. Check the app's security or privacy settings first before using Screen Time or the Quick Actions menu. WhatsApp is a great example here because it comes with a built-in Face ID lock.
Can't Remove App Time Limits With Face ID or Passcode? Fixed!
If you can't remove app time limits with Face ID on iPhone because it keeps failing, you can try to use Screen Time passcode. However, what if both Screen Time passcode and Face ID don’t work on turn off Time Limit for an app? Don’t fret. Eassiy iPhone Access can help.
Eassiy iPhone Access, the neat, little desktop tool for Windows and Mac, can turn off Screen Time without passcode or data loss for you. After that, you can use any apps without limitations.
- Remove Screen Time Passcode: Quickly clear Screen Time restrictions and passcodes without reset.
- Remove Screen Locks: Useful if you've been locked out of a second-hand iPhone where the previous owner set a passcode and is no longer reachable to remove it.
- Bypass iCloud Activation Lock: If you legally purchased a used iPhone that has the previous owner's Apple ID, Eassiy can remove Activation Lock without password for you to set the device up as yours.
- Remove Apple ID: Helpful when you've been gifted or bought a device signed into someone else's Apple ID and there's no way to contact them for the login details.
Steps to Turn Off Screen Time Without Passcode or Face ID
Prep: Turn off Find My feature on your iPhone.
- First
,download, install and launch Eassiy iPhone Access on your Windows PC or Mac. - On the main screen, select Unlock Screen Time. Then connect your iPhone to the computer using a USB cable. If prompted on your iPhone, select Trust.
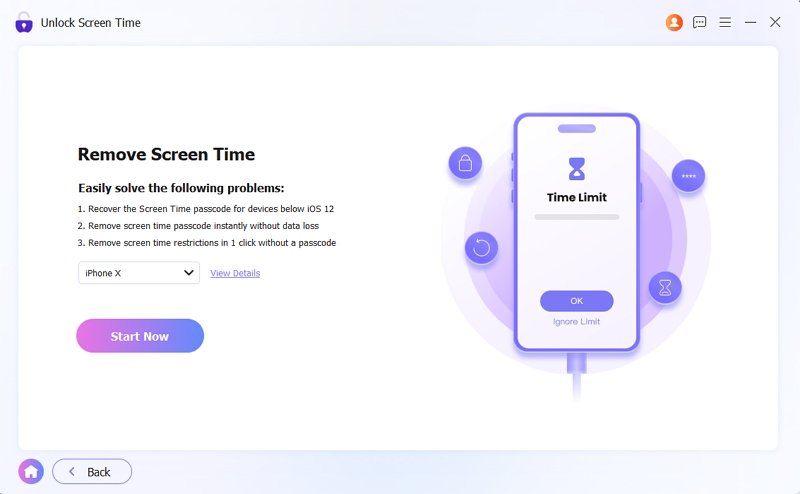
- Choose Set up directly on the device to proceed.
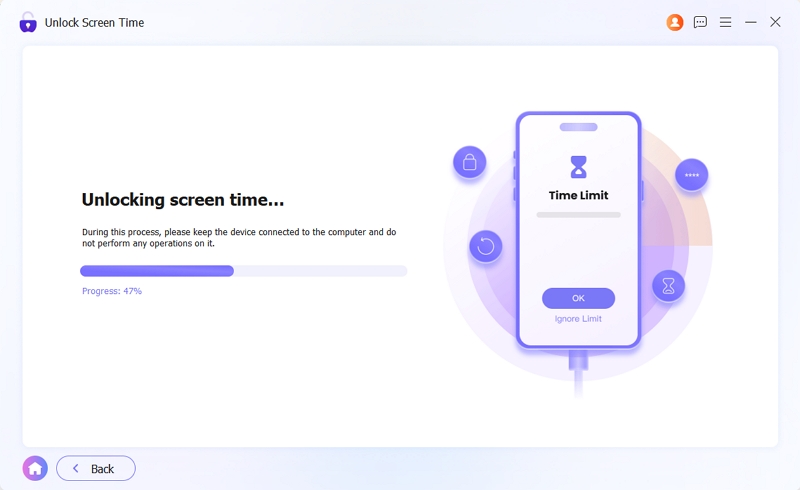
- Click Start Now and Eassiy will start removing Screen Time restrictions from your iPhone.
- After a while, you will find Screen Time is disabled, meaning that all app limits are removed.


To Sum Up
Seamless Face ID downloads really come down to two settings: enrolling Face ID and enabling iTunes & App Store. When things go sideways, toggling that switch off and on clears it up most of the time. For extra privacy, you can lock apps behind Face ID, though many banking and password manager apps already have this built into their own security settings. Want to remove app time limits without passcode and data loss? Just use Eassiy iPhone Access to get yourself back in without the headache of contacting Apple Support!