





 Help Center
Updated on 2026-09-29
views
5min read
You might need to transfer your iPhone Voice Memo recordings to a computer to edit audio, transcribe interviews, organize meeting recordings, create a backup, or save important voice notes for long-term storage.
Different transfer methods support different devices and connection types. The transfer process also varies by method. This guide explains how to import audio recordings from iPhone to computer using both wired and wireless methods, covering the transfer process for each option across Windows PC and Mac.
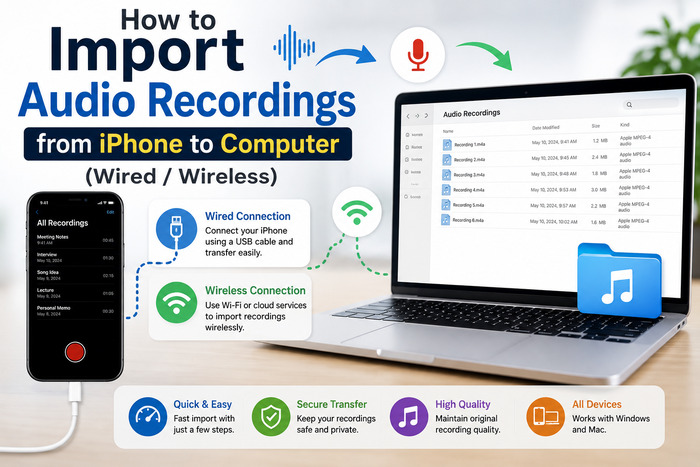
Import Audio Recordings from iPhone to Computer: Way Overview
Wireless and USB methods transfer Voice Memos in different ways. Wireless methods use Apple's built-in services, cloud storage, or email to move recordings without a cable, while USB methods copy recordings through a direct physical connection between the iPhone and the computer.
The comparison table below highlights the key differences to help you identify the method that matches your devices and transfer requirements.
| Ways | Supported OS | Connection Type | Recommended Transfer Size | Transfer Speed |
|---|---|---|---|---|
| AirDrop | Mac | Wireless | Small to medium | Very fast |
| iCloud Sync | Mac | Wireless | Medium to large | Fast |
| iCloud Drive | Windows and Mac | Wireless | Small to large | Fast |
| Windows and Mac | Wireless | Small files | Moderate | |
| iTunes/Finder | Windows and Mac | USB | Medium to large | Moderate |
| Eassiy Phone Transfer | Windows | USB | Small to large | Very fast |
| USB Drive | Windows and Mac | USB | Medium to large | Fast |
How to Import Audio Recordings from iPhone to Computer Wirelessly
Each wireless method requires a specific type of connection, such as nearby device communication, an Apple Account, or internet-based cloud access. These requirements determine how the transfer is established.
Knowing these requirements beforehand helps avoid transfer issues and select the right method. It also ensures the process fits your devices and the number of recordings you need to move.
Way 1. Use AirDrop
AirDrop allows you to import selected Voice Memos from your iPhone to a nearby Mac through Apple’s built-in sharing system. The transferred recordings are saved as separate audio files on the Mac.
Steps to Import iPhone Audio Recordings to Mac with AirDrop
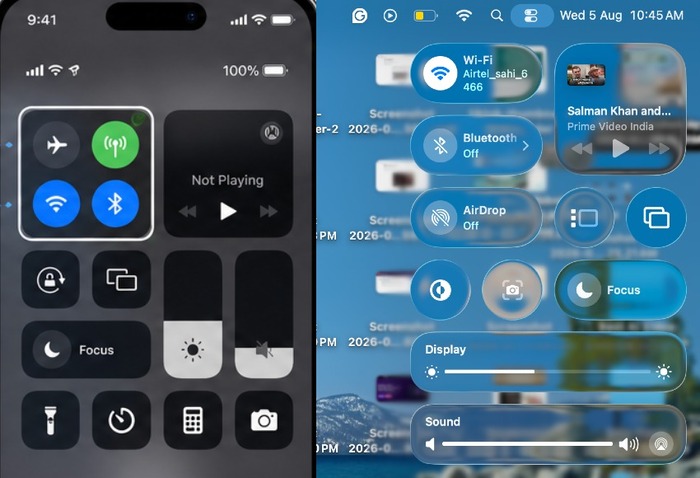
1. Enable both Wi-Fi and Bluetooth on your iPhone and Mac.
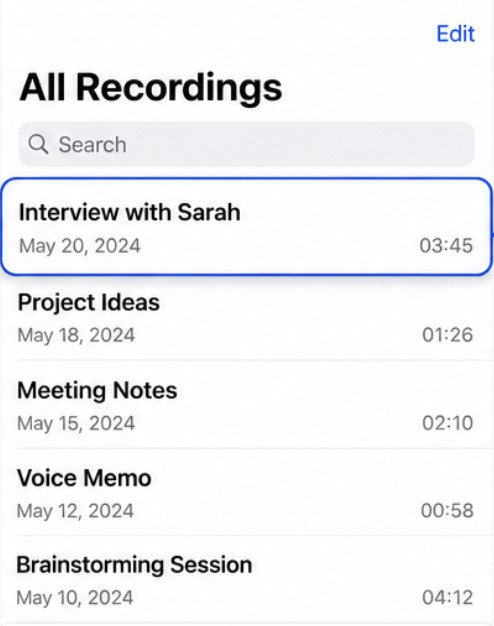
2. Open the Voice Memos app on your iPhone. Then, select the recording you desire to transfer.
3. Hit the Share icon and select Share.
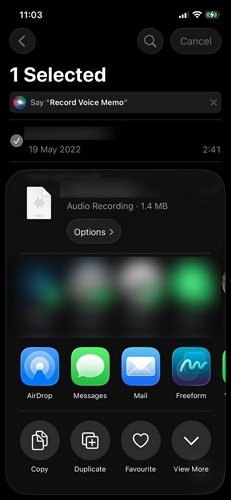
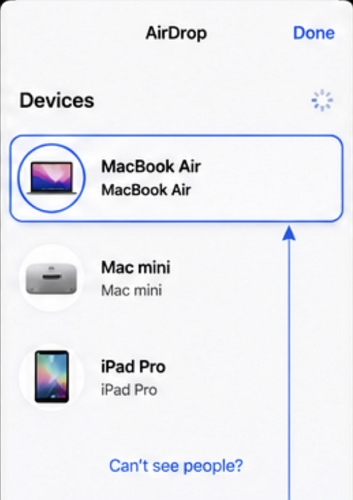
4. Select AirDrop and choose your Mac from the available devices.
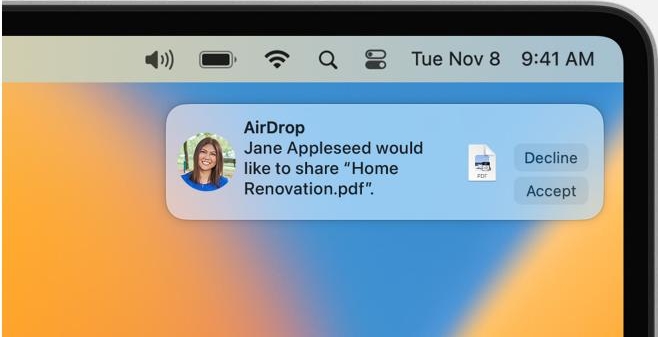
5. Click Accept in the pop-out on your Mac. After migration, you can go to Voice Memos to find the transferred recordings.
Way 2. Via iCloud Sync
iCloud Sync is a cloud-based method that connects the Voice Memos libraries on Apple devices through the same Apple Account. It manages recordings within the synced library instead of sending individual audio files between devices. This way is ideal for transferring data between your iPhone and Mac.
Steps to Transfer Audio Recordings to Mac with iCloud Sync
1. Go to Settings on your iPhone and tap your name to open Apple Account settings.
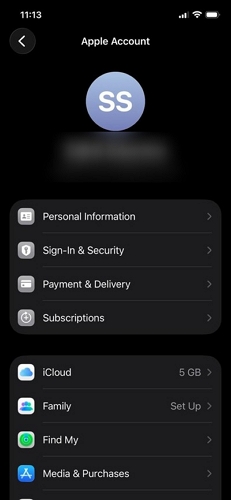
2. Tap iCloud, open See All under Apps Using iCloud, then enable Voice Memos.
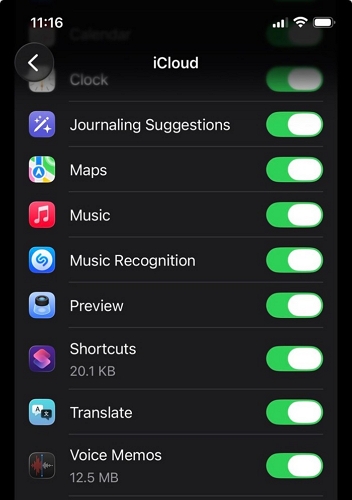
3. On your Mac, click the Apple menu > System Settings > click your Apple Account name.
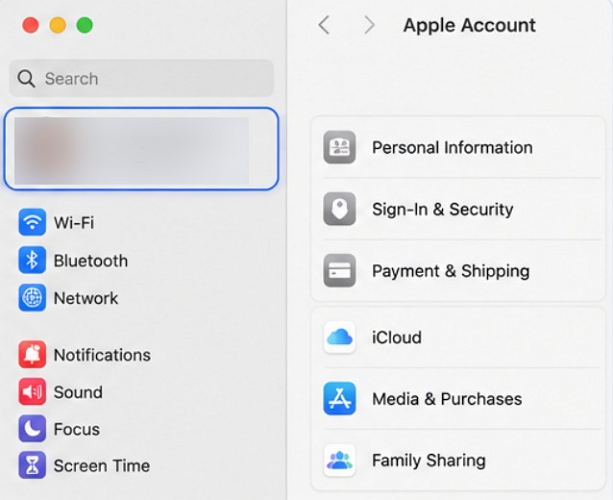
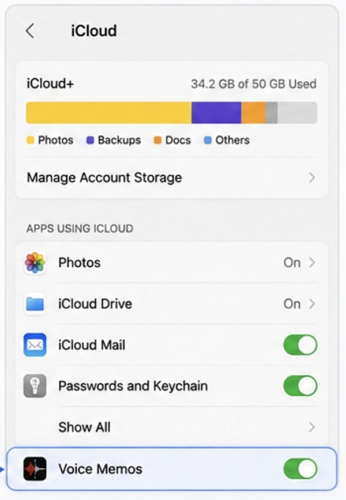
4. Go to iCloud settings and enable Voice Memos.
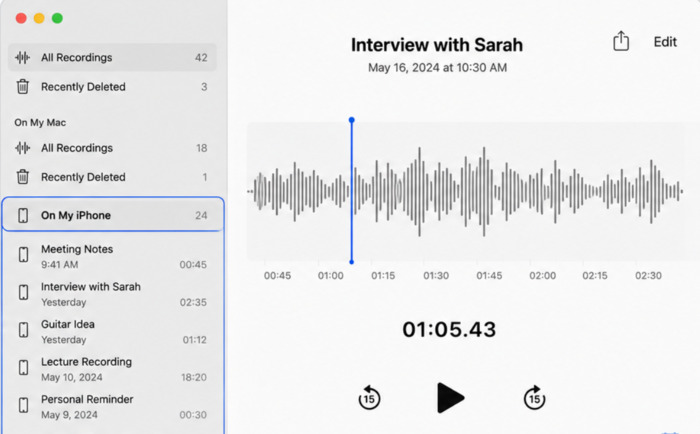
5. Open Voice Memos on your Mac. Your iPhone recordings will automatically download and appear in the sidebar.
Way 3. Through iCloud Drive
iCloud Drive handles Voice Memo transfers through manual file export. A selected recording is saved as an audio file in iCloud Drive, where it remains available as a stored file.
Steps to Add Audio Recordings to Computer with iCloud Drive
1. Open Voice Memos on iPhone.
2. Hit the recording you wish to export. Hit the Share icon and choose Save to Files.
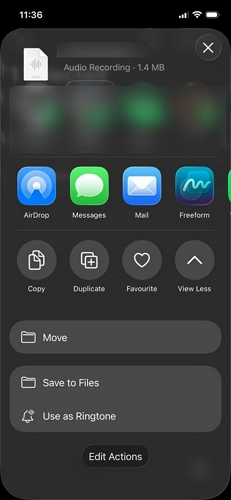
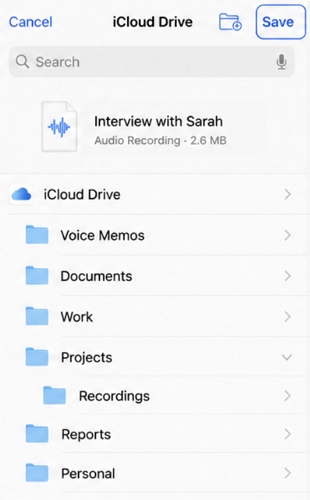
3. Select a folder inside iCloud Drive and tap Save.
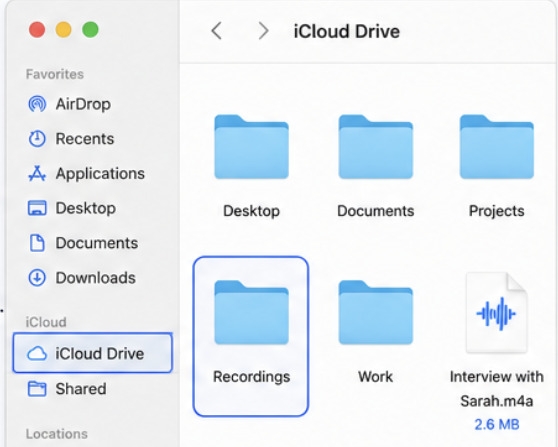
4. Find your recording in iCloud Drive using Finder on Mac.
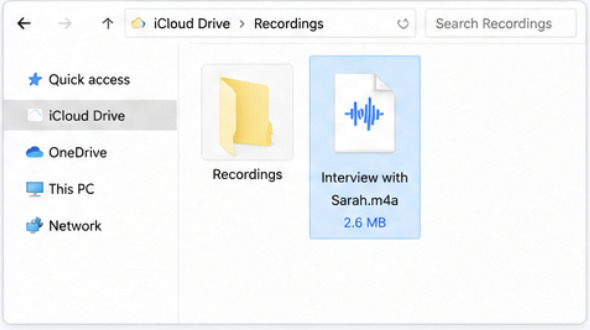
On Windows, use File Explorer or sign in to iCloud.com to access the transferred recordings.
Note: This export feature works across multiple cloud storage providers, including Google Drive, Microsoft OneDrive, and Dropbox.
Way 4. With Email
Email attaches a selected Voice Memo to a new message before sending it to an email address. The recording remains an attachment that can be downloaded from the email on any compatible computer.
Steps to Send Audio Recordings to Computer with Email
1. Open Apple's Voice Memos app on your iPhone.
2. Hit the recording you prefer to transfer.
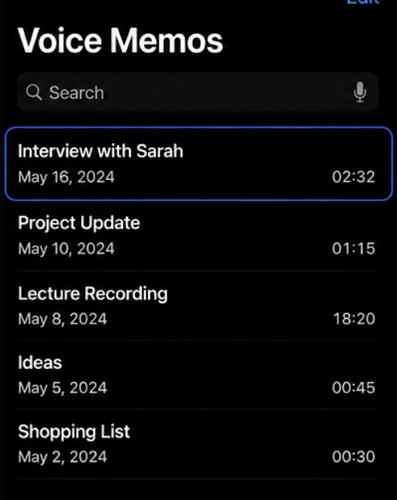
3. Press the Share icon and click Share. From the available options, choose Mail, Gmail, Outlook, or another email app.
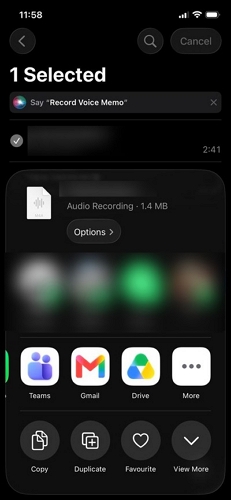
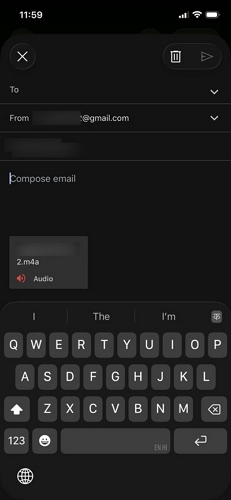
4. Address the email to yourself, then tap Send.
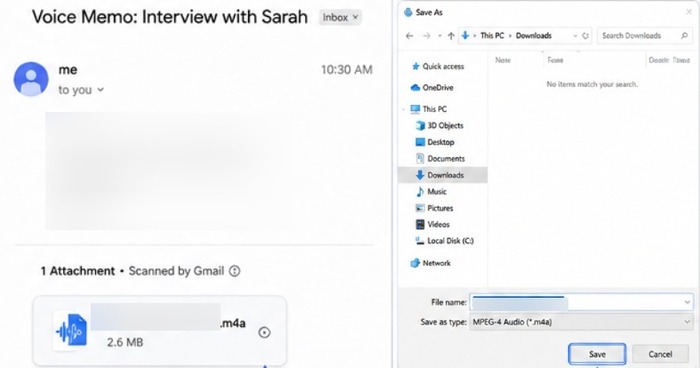
5. Access your email on your Mac or PC. Then download the attached Voice Memo to local storage.
How to Import Audio Recordings from iPhone to Computer via USB
USB methods move Voice Memos through a physical connection instead of relying on wireless sharing or cloud services, which can work offline and be more stable. Depending on the approach, recordings can be copied using Apple's desktop software, exported with a dedicated transfer tool, or moved through an external USB drive connected to the iPhone.
Method 1. Import Recordings from iPhone to Computer with iTunes/Finder
iTunes and Finder, the traditional iDevice management tool, can access supported app files through Apple's File Sharing feature. Simply connect your iPhone and follow the steps below to complete the data transfer.
Steps to Migrate Audio Recordings to Windows/Mac with iTunes/Finder
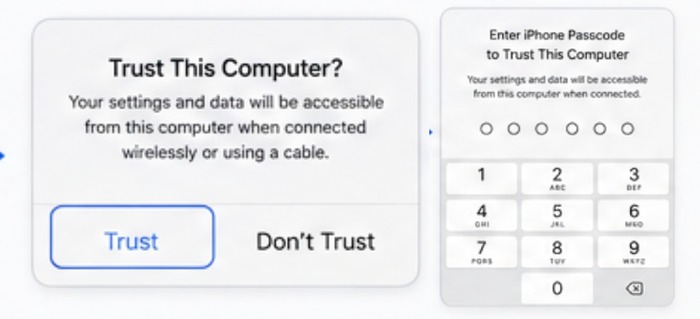
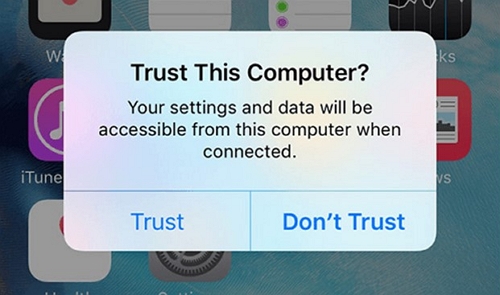
1. Connect your iPhone to your computer via a compatible USB cable. Unlock your iPhone, select Trust when prompted and enter your passcode.
2. Open Finder or iTunes and access your iPhone. On Windows, click the device icon near the top of the iTunes window and choose your iPhone in the sidebar of Finder if you are using Mac.

3. Open the File Sharing tab and select Voice Memos from the apps displayed.

4. Choose the recordings to export, click Save and specify a destination folder.
Alternatively, drag and drop the selected recordings directly into your preferred location.
Method 2. Transfer Voice Memo from iPhone to Computer Using Eassiy Phone Transfer
Instead of exporting Voice Memos one by one, Eassiy Phone Transfer reads the recordings directly from your connected iPhone after establishing a USB connection. The software organizes the available Voice Memos into a dedicated category so you can browse and preview them before exporting. Selected recordings are then transferred directly to your Windows PC without using iCloud synchronization or iTunes.
Key Features
- Move Voice Memos from iPhone to a computer without iCloud or iTunes.
- Transfer data between iPhone and Android, iPhone and iPhone, or Android and Android.
- Export multiple or all voice memos in a single transfer.
- Manage and transfer photos, videos, music, contacts, messages, and more from one convenient interface.
Steps to Transfer Voice Memos from iPhone to Windows PC Without iCloud or iTunes
1. Install Eassiy Phone Transfer and open it.
2. Connect your iPhone to your PC via USB.
3. Once connected, select Voice Memos from the sidebar. Your recordings will appear.
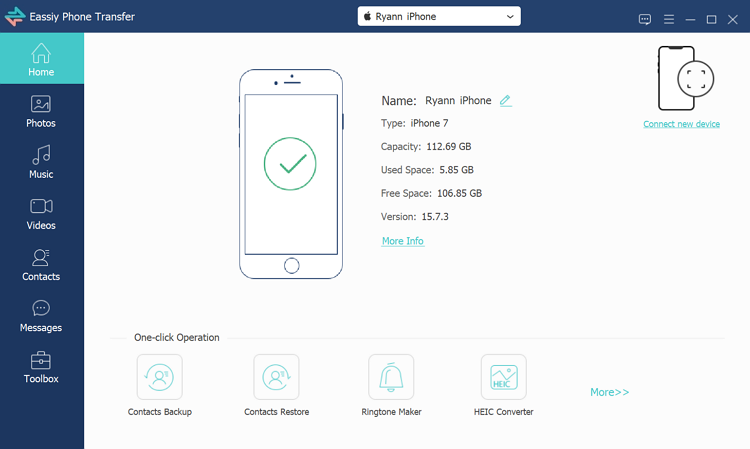
4. Preview the voice memos. Then select the recordings you want to transfer to your computer.
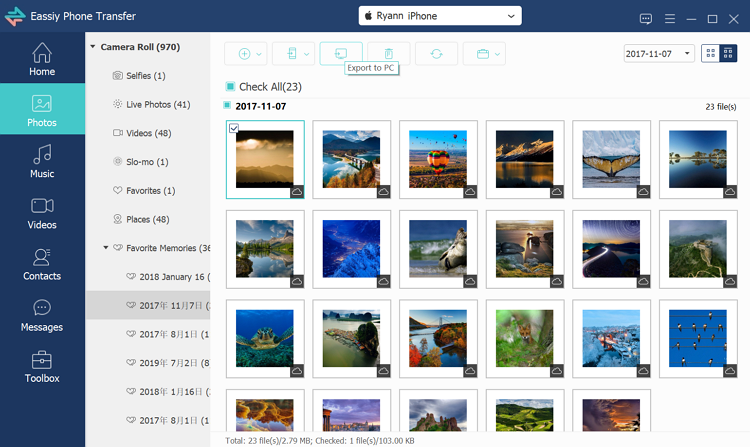
5. Press Export to PC, choose a destination folder and confirm the export.
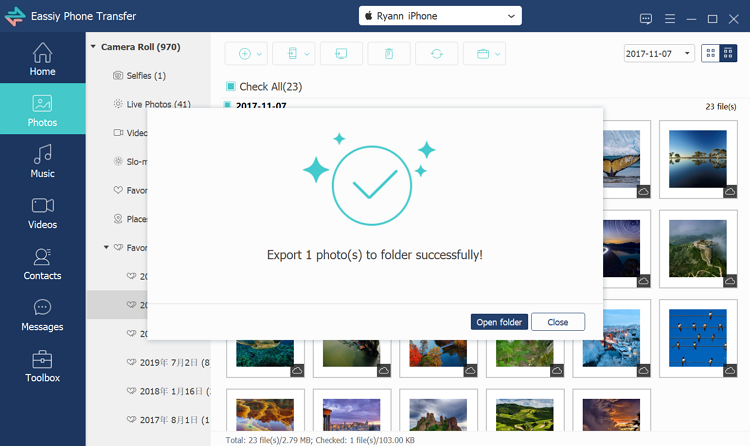
Eassiy Phone Transfer will copy the selected Voice Memo recordings to your computer.
Method 3. Move Audio Recordings from iPhone to Windows/Mac via USB Drive
A USB drive stores Voice Memos as files before they are copied to a computer. The recordings are first saved to the Files app on the iPhone, moved to an external USB drive connected through a compatible adapter, and then transferred from the USB drive to a Windows PC or Mac.
Steps to Move Audio Recordings to Computer with a USB Drive
1. Open the Voice Memos app, select your recording and select Share.
2. Select Save to Files to store it locally on your iPhone.
3. Connect an external USB drive to your iPhone using a compatible adapter that matches your device's port.
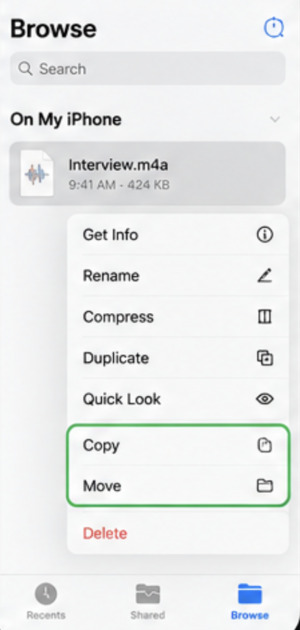
4. Open Files, locate the saved recording, then touch and hold it. And select Copy or Move.
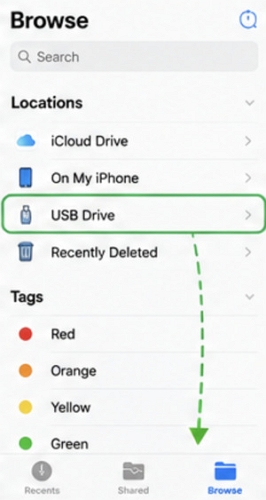
5. Tap the Browse tab at the bottom and select your USB Drive under the Locations section. And paste the file into your preferred folder.
6. Disconnect the USB drive from your iPhone and connect it to your computer. Open the drive using File Explorer on Windows or Finder on Mac and drag the audio files to your preferred folder.
How to Record iPhone Audio on Computer
Recording iPhone audio on a computer is more flexible than doing so on an iPhone. You can trim or edit the audio before saving and save the recordings to your desktop. Eassiy Screen Recorder Ultimate is a powerful tool that can help you do that. It can mirror your iPhone to the desktop and then record the audio or conversations clearly. Once the recording ends, you can trim or enhance the audio.
Steps to Record iPhone Audio on Computer with Eassiy
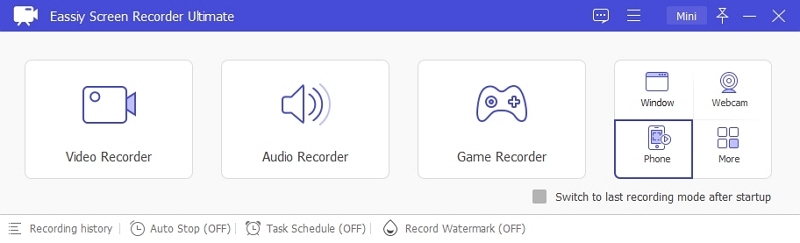
1. Launch Eassiy Screen Recorder Ultimate on your Windows PC or Mac. Then select Phone Recorder from the main interface.
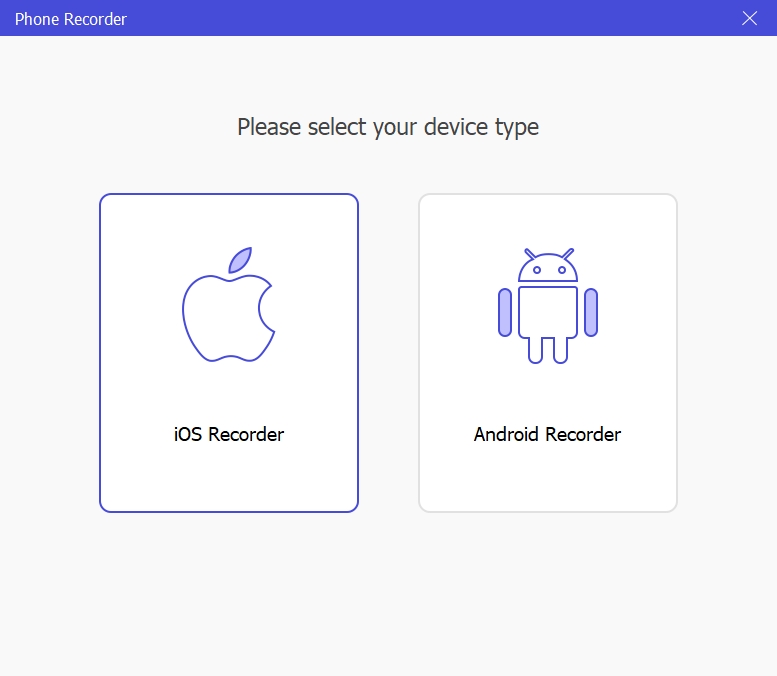
2. Select iOS Recorder. Complete the connection by following the on-screen instructions.
3. You will see your iPhone screen in Eassiy, along with its sound.
Click Record in Eassiy Screen Recorder Ultimate.
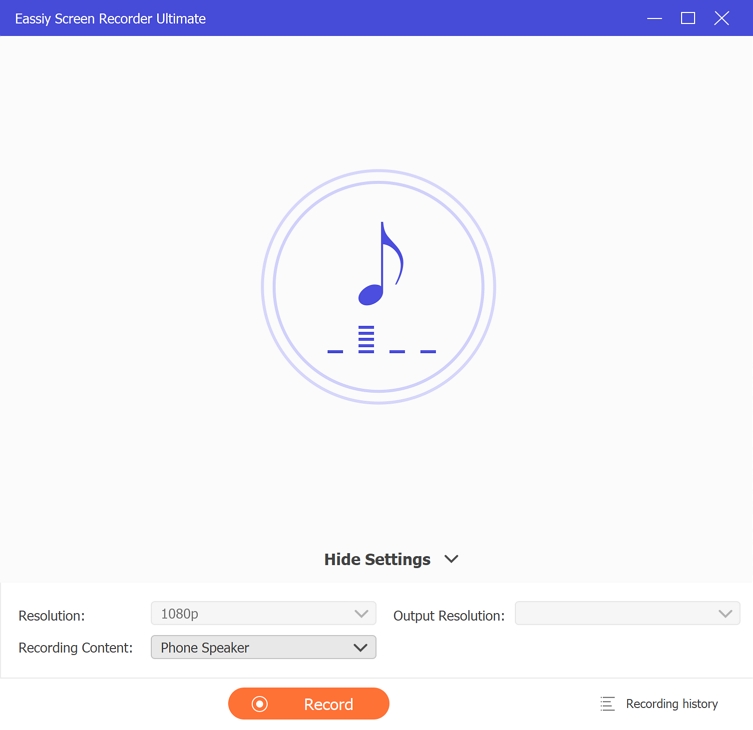
4. Play the Voice Memo or other audio you want to capture on your iPhone. The software will record the mirrored iPhone audio on your computer.
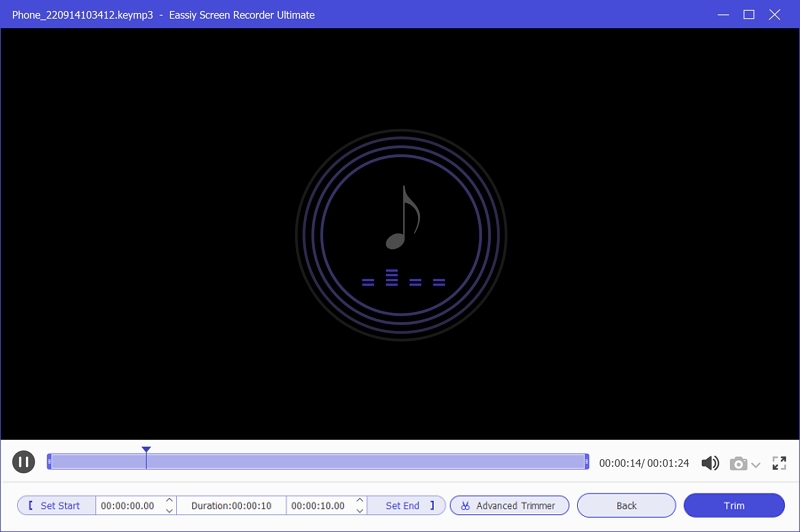
5. Click Stop, review the recording, trim it if required, and save the final version to your computer.
To Sum Up
Understanding how to import audio recordings from iPhone to computer involves more than choosing between wireless and USB transfers. Each method follows a different process for synchronizing, exporting, copying, or recording audio. Understanding these workflows helps you identify the method that matches your devices and transfer requirements before starting the transfer.