
Updated on 2023-07-06
views
5min read
Earlier, recording the screen on the Chromebook required you to use Android apps and too many steps. But thanks to the Chrome OS 89 (2021) release, users can use the built-in screen recorder and screencast their Chromebook without any third-party apps. But the problem is most users do not know how to use the built-in screen recorder on Chromebook and capture video footage with audio.
Scroll down to find how to use Chromebook's built-in screen recorder to capture the screen with audio. You will also find an alternative tool to help you record Chromebook with audio. Given the built-in screen recorder on Chromebook lacks advanced recording and video editing functions, you will find the alternatives to be more useful; nevertheless, that is up to you to decide.
Part 1: Best Way to Screen Record Audio with Audio
Looking for the ultimate to way to record on Windows, Mac, iPhone, or Android devices? Well, Eassiy Screen Recorder is the answer.
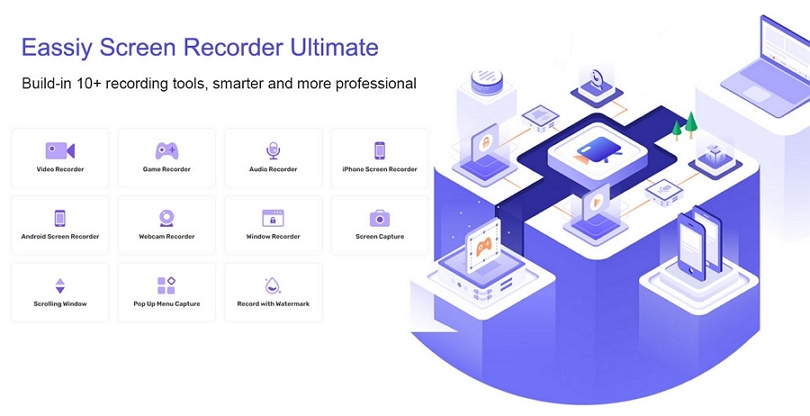
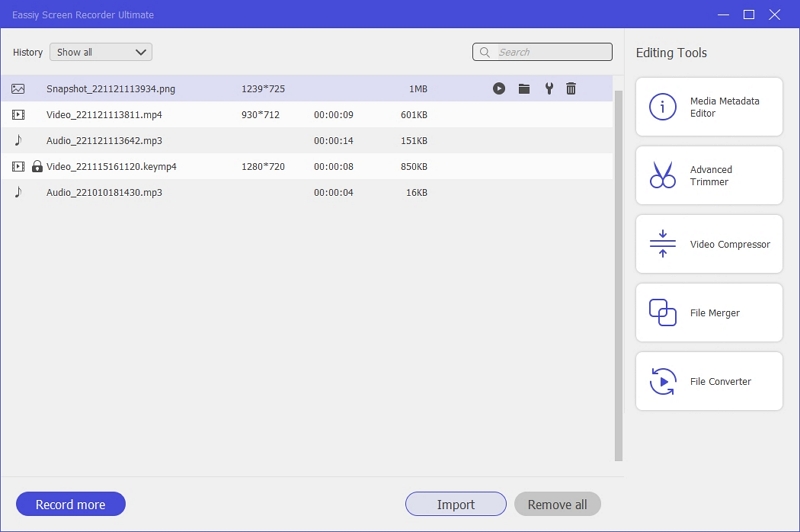
1. Eassiy Screen Recorder Ultimate
Eassiy Screen Recorder Ultimate comes with all the recording and video editing tools one needs to create professional-looking videos. Be it recording the full screen, partial recording, or locking a window or application for screen recording, Eassiy allows you to record the screen in the way you want and create professional-looking videos easily. Not to mention, it also lets you include a webcam and internal/microphone sound in the screen recording. Plus, there are advanced functions like limiting background noises and enhancing microphone sound.
Laden with 10+ screen recording tools, Eassiy presents all the tools you will need to record, edit, and share a screen recording with the world. And the user interface is simple enough that even tech neophytes can use it conveniently.
Key Features of Eassiy Screen Recorder Ultimate:
- Flexible capture any area of your screen.
- Capture iPhone or Android screens.
- Advanced audio management system.
- Record webcam with video.
- Auto-recording and Auto-Stop recording.
- Use texts, lines, arrows, and other real-time annotation tools.
- Create your own logos or watermarks.
- Share the recorded video on YouTube, Facebook, Vimeo, and more social channels.
- Save the recorded footage in any format, including MP4, WMV, AVI, MOV, FLV, ASF, etc.
- Locked window/application recording to record uninterruptedly.
- Eassiy includes advanced recording options like Follow Mouse Recorder (to record a selected area with mouse movements), Around Mouse, and so on.
- Scrolling screenshots to capture chat messages, a webpage, and so on.
- Video editing features, including trim, cut, audio cleaning, auto-split, and more.
How Do You Record Computer Screens With Eassiy Screen Recorder?
Step 1. Download Eassiy Screen Recorder on your PC and install it. Then, launch the software app and select Video Recorder from the main interface.
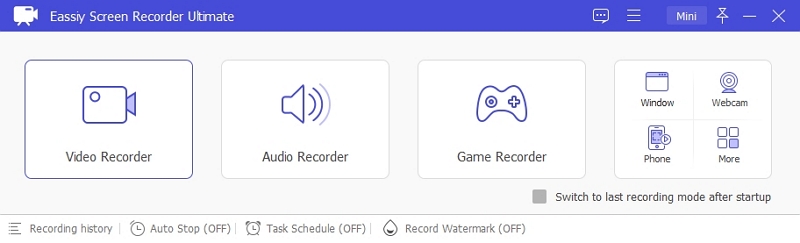
Step 2: Next, choose whether you want to record your PC full screen or a specific area. The option labeled as FULL is to record the PC full screen. But the option labeled as Custom will allow you to define the recording area. Turn on the toggle next to System Sound and Microphone (for external audio) and use the relevant button to adjust the volume. Then, click REC to start recording the computer with audio.

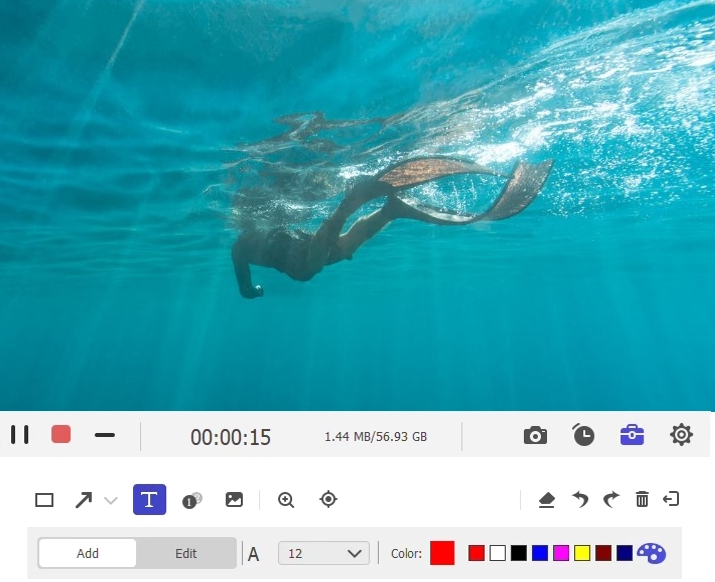
Step 3: Now that Eassiy Sreen Recorder is recording your computer with Audio, you can use the Camera icon at the bottom of the screen to take real-time screenshots. Click the Briefcase icon at the bottom right to use real-time annotation tools to add text, draw, and highlight important elements in the video.
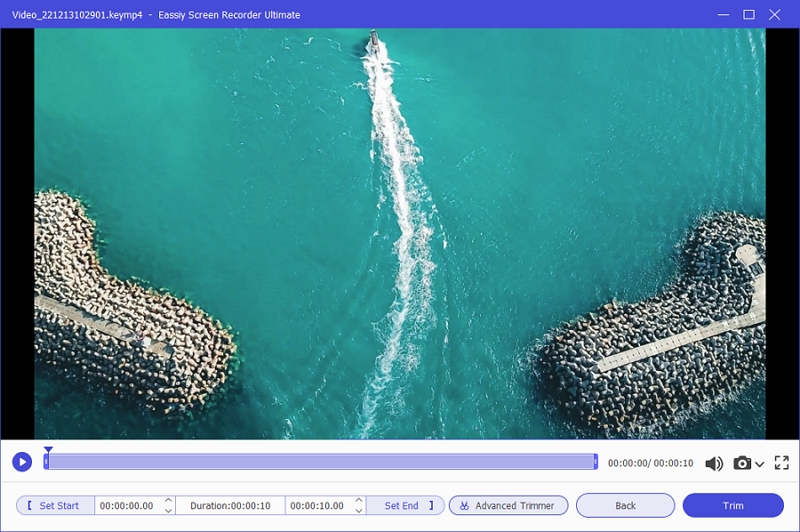
Step 4: Click the Stop button to end the screen recording. After that, your video will be displayed in a new window where you can edit it by using several functions like trim, auto-split, cut, etc, which are reliable for professionals.
Step 5: Once you complete editing, click Done are the bottom right corner to automatically save the recorded video. You can also use the Share option. To share the recorded video on various platforms, including Twitter, Vimeo, YouTube, etc.
Part 2: How to Record on Chromebook Without an App
Chrome OS 89 comes with its own built-in screen recorder. You can record the entire screen, customize the recording area. Here’s how to record on Chromebook using the built-in screen recorder:
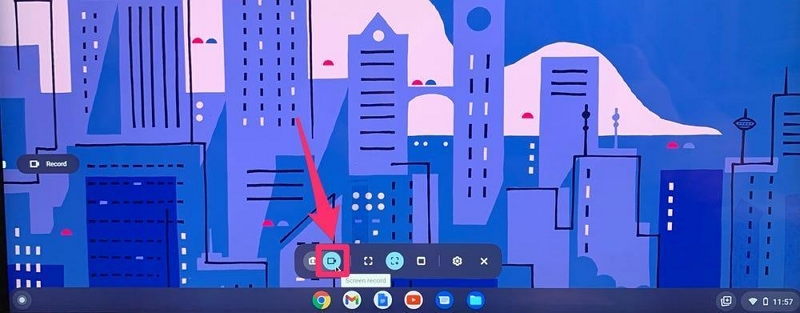
Step 1. Select the Clock on the bottom-right pane of the Status bar on the Chromebook.
- From the list of option, choose Screen Recorder.
- As soon as you click on Screen Recorder, a menu will appear in the middle of the screen.
- Click on the Video icon on the Screen Recorder toolbar.
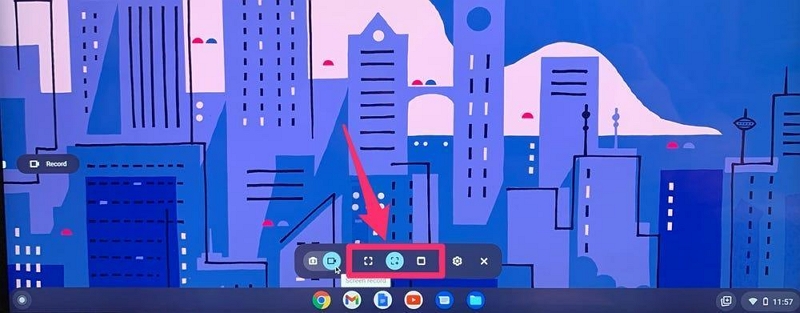
Step 2. Choose a recording mode.
Chromebook allows you to choose the Full Screen, Partial Screen, or a specific Window or application.
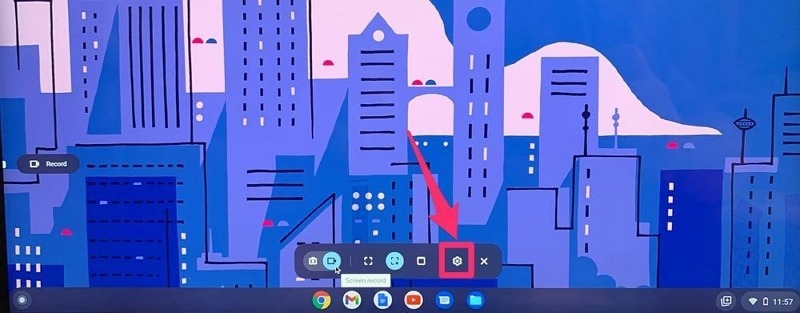
Step 3. Customize the Recording.
The Settings menu will allow you to access the Sound options.
Step 4. After specifying the Screen area and other settings, click on the floating Record button to start the recording. You can also end the recording by clicking on the Recording button. By default, Chromebook will save the screen recording in .webM format. .webM format is playable on most devices. However, it is not supported on some devices, so you may have to convert the format to play it on other devices.
Part 3: How Do You Screen Record on A Chromebook Online For Free?
You can also use a third-party online tool to record on the Chromebook with audio. The benefit of using a third-party tool is you will have more control over your recording. And while there are many online tools out there, one of the best ones to record Chromebook seamlessly is Wondershare DemoAir.
Wondershare DemoAir
Wondershare DemoAir is a Chrome extension that allows you to record the entire screen, partial screen, or a specific window or application. You can also include webcam and microphone sound in the recording. There are also annotation tools to draw, scribble, and doodle on the live screen recording. Beyond screen recording and drawing options, DemoAir also comes with a built-in video editor.

Using the video editor, you can trim and remove unwanted parts. And after everything, you can generate links and share the videos conveniently. Needless to say, DemoAir also presents a simple interface that allows both beginners and experts to work alike.
How to use DemoAir to record screen on Chromebook with Audio:
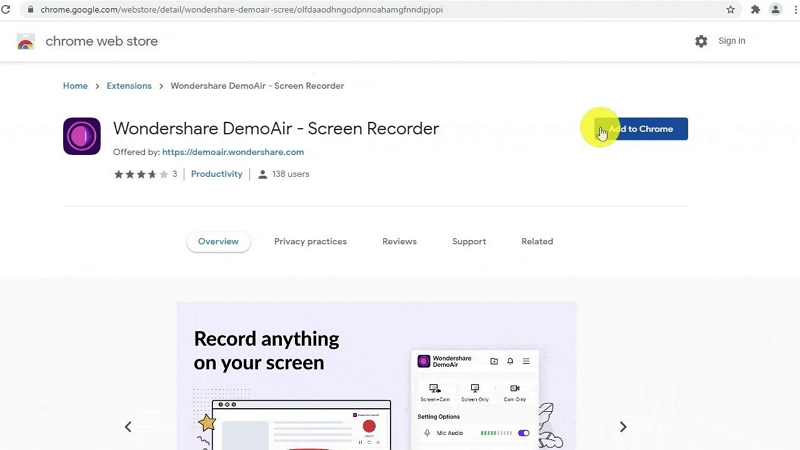
Step 1. Download and Install DemoAir on Chromebook.
Open the Chrome browser on Chromebook. Go to Chrome Web Store and search for DemoAir. Install the application on the Chrome browser.
Step 2. Starting Recording the Chromebook.
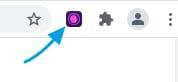
Click on the DemoAir extension on the Chromebook.
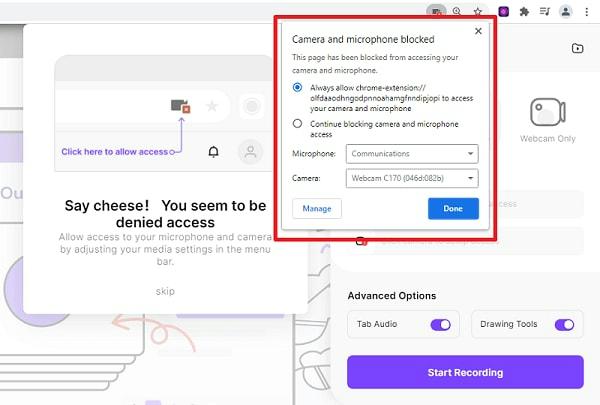
Choose Desktop from the list of options. You can choose to include the microphone sound. Turn n the toggle assigned to Webcam to include webcam overlay in the video. After customizing all the settings, click on Start Recording to start the recording.
Step 3. Use Annotation Tools.
Click on the Pen icon to use the drawing tools on the desktop recording. You can different shapes and different colors to annotate the recordings creatively.

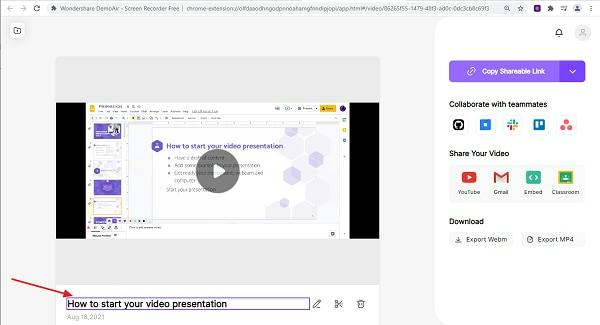
Step 4. Save the Recording.
Click on the red button to stop the recording. After you end the recording, you can share the video recording via Sharable link or Social Media integrations.
That’s how to use DemoAir to record the Chromebook with both system and microphone sound. Be that as it may, DemoAir is not available on Windows and Mac devices. So, you will have to use Windows and Mac tools like Eassiy Screen Recorder. Read on to find a brief introduction of best screen recording tool for Windows and Mac.
Conclusion
There you go! As mentioned, this guide lists how to record Chromebook with Audio using the built-in screen recorder. Chromebook’s Screen Recorder is decent. But it does not give you the option to record with a webcam or use annotation tools. And that’s where DemoAir comes in; the chrome extension of DemoAir makes it an accessible tool even on the Chromebook via the Chrome browser. Plus, it includes all the necessary video recording and editing tools to create video lessons, presentations, demonstrations, and more on Chromebook creatively. Be that as it may, if you are looking for a screen recorder tool for Windows or Mac, Eassiy Screen Recorder is the way to go, given it includes everything you need and nothing you don’t.