
Updated on 2023-08-24
views
5min read
If you have accidentally deleted data and panicked, don’t worry! Advancements in data management and recovery technology has ensured that none of our precious data goes missing again by accident or damaged electronics. This process is known as “disk recovery”. But how does it work?
Well, you can easily recognise your disk partitions as digital manifestations of your disk. Data in disks are stored as sets of binary numbers, so when a file is deleted, your OS (operating system), in this case Windows, will remove the path to the original data. This remains until the previous data is replaced with new sets of binary numbers. So you see, data is not completely gone, even if your disk is damaged.
There are many situations where you need to resort for disk recovery: data loss and data corruption due to virus, malware attacks, power failure, interrupting firmware upgrades, expired HDD, damaged disk due to overuse, overheating, voltage overload, PC crashing and even accidentally dropping your hardware.
In this article, we will cover several ways that you can perform basic and advanced disk recovery. These are:
- System File Checker
- CheckDisk Tool
- Disk Recovery Software (overview)
- Eassiy Data Recovery Software
- Recovery Drive creation
Part 1: Diagnosing Disk Issues and Data Loss before Disk Recovery
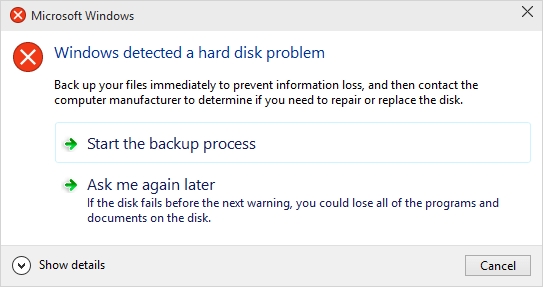
When disk drives are properly taken care of, they can last up to 5 years. Toshiba, Lenovo, Acer, Asus, HP and other PC hardware vendors guarantee a smooth disk performance. However, there are several reasons your disk drives start to fail and you get regular error messages:
- Voltage overload, faulty power supply and power shortage
- Dust, water, smoke etc. in PC room
- Over-usage, overheating, pressure and other physical damages that cause disk drive head crash or magnetic platters to move
- Logical failures caused by virus or malware attack
- Deleting important system files or registry entry
- PC shutting down accidentally during firmware updates
A. Identifying Disk Failure Signs
Before we identify the disk failure, look out for these signs that will let you know that your disk drive is in critical condition:
- Computer slowing down and freezing causing you to do a hard reset often
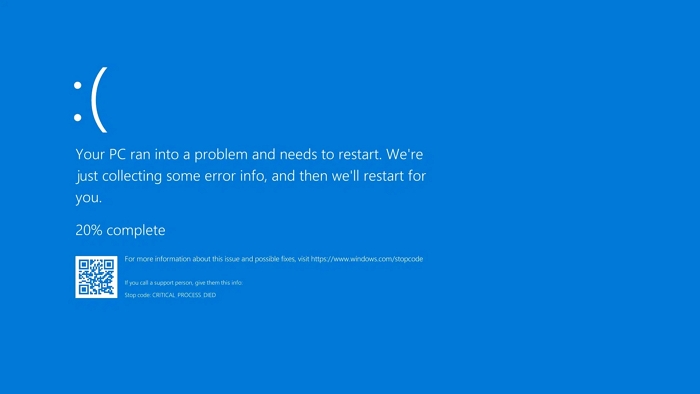
- Frequent Blue Screen of Death (BSOD)
- Optimization tools not increasing the process waiting times
- Corrupted and missing files and folders
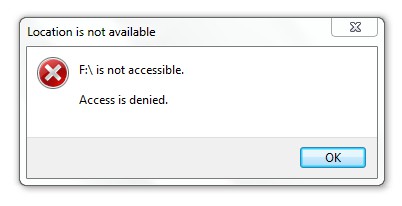
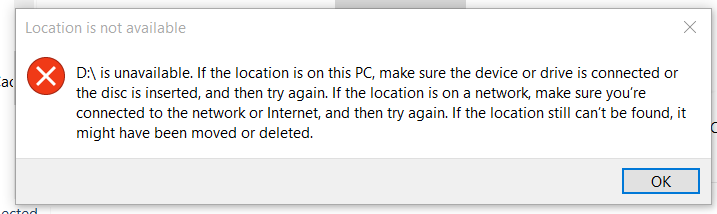
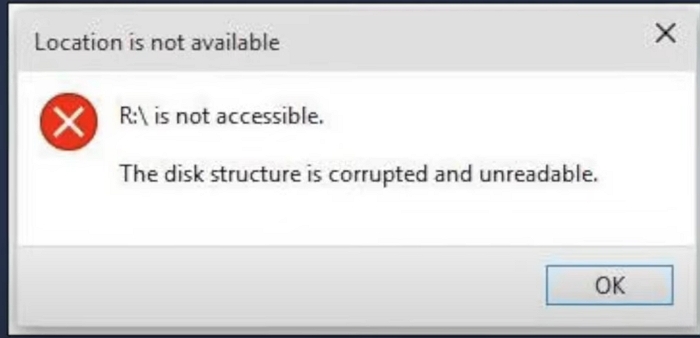
- Disk drives being inaccessible and getting frequent error messages
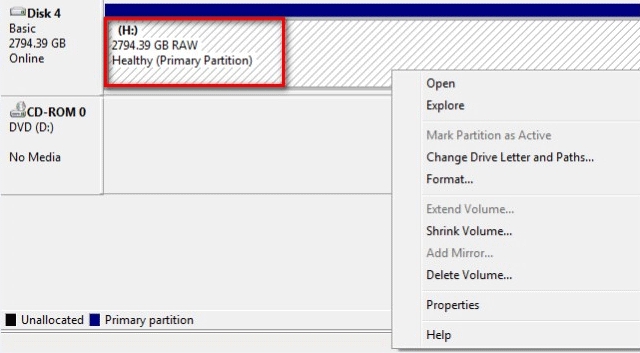
- Disk drives and partitions being missing and showing up as RAW format in partition manager
- A lot of bad sectors identified in the System File Checker (SFC)
- OS failing to boot
- Clicking and grinding noises
B. Assessing the Severity of Data Loss
Windows has several built-in tools to assess and show you the severity of the data loss and also attempt to recover some files. Before these, back up your existing data and try to following steps to get your disk’s current condition.
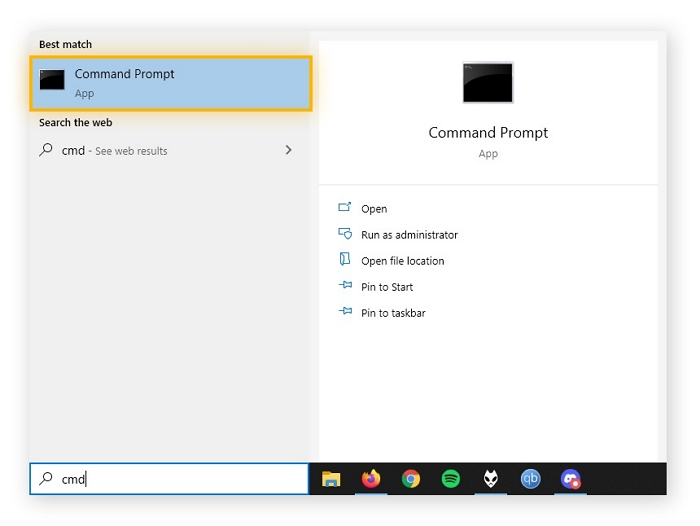
Step 1: Run the Command Prompt
Step 2: Type in wmic diskdrive get status and press enter.
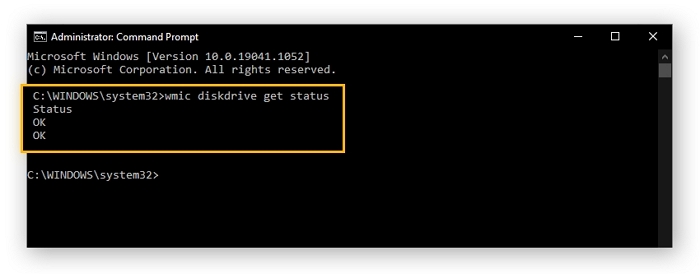
Step 3: If you get the message Status, followed by OK, your disk is still in a healthy condition.
If the status reads Pred Fail, there’s at least one error in the disk, which is unspecified by the monitoring system.
C. Fix Hard Disk Failures from Windows Tools
Method 1: Run System File Checker (SFC)
Open Command Prompt. Type sfc /scannow
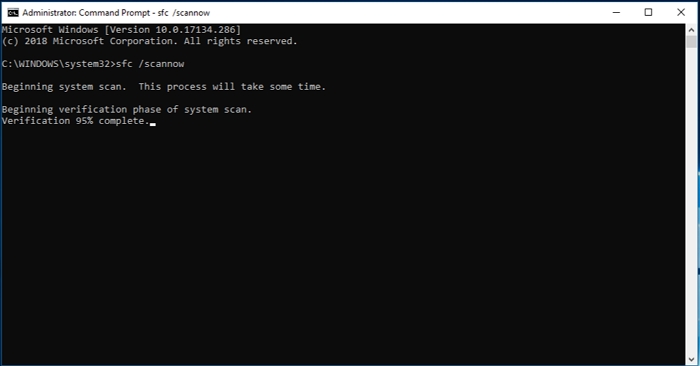
This command will scan all system files and replace damaged files with a backup copy. After the process is finished, you will see a list of results. If you see the messages “Windows Resource Protection could not perform the requested operation” or “Windows Resource Protection found corrupt files but was unable to fix some of them” – then try other methods.
Method 2: Run the CheckDisk Tool
Step 1: Go to File Explorer > This PC
Step 2: Right-click the drive or partition, and select Properties > Tools tab
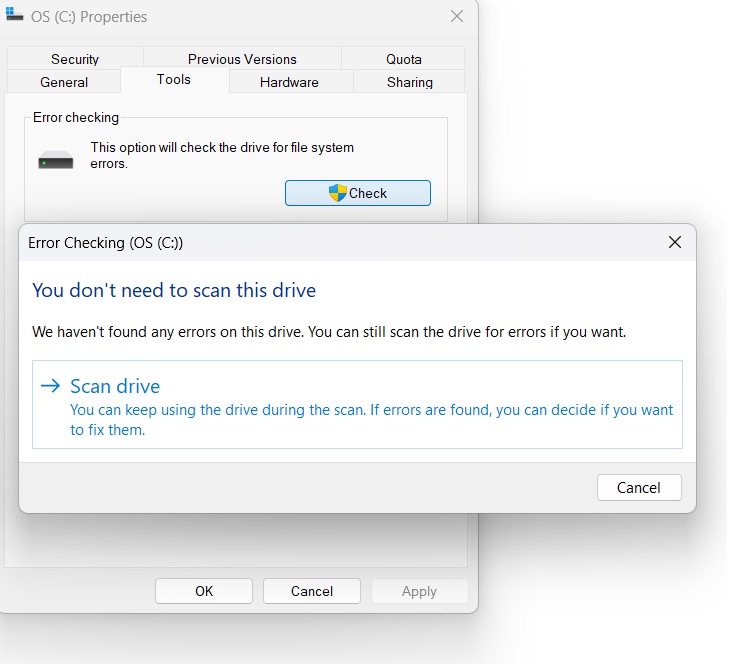
Step 3: Click Check. If you see “You don’t need to scan this drive”, click Scan Drive and Windows will find and fix disk partition errors. You can also see the number of bad sectors in your disk partition.
Alternatively, you can go to Command Prompt, and type chkdsk C: /f /r /x
If CheckDisk cannot solve the issue, you’ll be prompted to run another test when the device restarts. If either of these methods fail, then the best solution is to use a Disk Recovery Software.
Method 3: System Restore
You can also restore previous version of your OS from a restore point. In search, type “system restore”, and click Create a Restore Point. However, restoring is not possible if your system isn’t bootable.
Part 2: 5 Best Advanced Disk Recovery Software
Unless the disk is completely irreparable, recovering data from disk drives is completely possible, and it has been made easier than ever through disk recovery software. You can recover both system and user files and even repair corrupted disk drives.
A. Choosing the Best Disk Recovery Software
There are a plethora of great disk recovery software in the market. How will you choose the best disk recovery solution among these? Look for these features:
- It is compatible with your device and OS
- It has a user-friendly, simple, easy-to-use GUI/user interface.
- There is specific software for specific file types, but the best one can support almost all file types recovery.
- It can support any and all storage types and filesystems
- It can account for all types of data loss scenarios such as disk corruption, accidental formatting, partition loss, malicious attacks, system crash etc.
- 24/7 customer support.
Based on these qualities, here are our pick for 5 Best Advanced Disk Recovery Software:
1. Eassiy Data Recovery
Eassiy Data Recovery is one of the most effective disk recovery software for high-level data recovery with a 98.6% success rate. Used in 1.5 million people in 180+ countries worldwide, Eassiy is an extremely powerful toolset to recover 1000+ file types from 2000+ storage types and filesystems. It also accounts for a large range of data loss scenarios including deleted files, formatted disk drives, lost partitions, virus attacks, system crash and RAW error recovery.
Pros:
- Quick and deep scanning modes with high success rate of recovered files.
- Sleek user-friendly interface with great customer support.
- It can recover 1000+ file types from 2000+ storage devices in almost all data-loss scenarios.
Cons:
- Limited free trial version and full version is needed for broader functions.
Pro Tips: The easiest and most effective tool to recover over 1000 types of files from more than 2000 kinds of storage devices under different situations. Its data recovery rate reaches to 98.6, getting back lost data with the highest possibility in the industry.
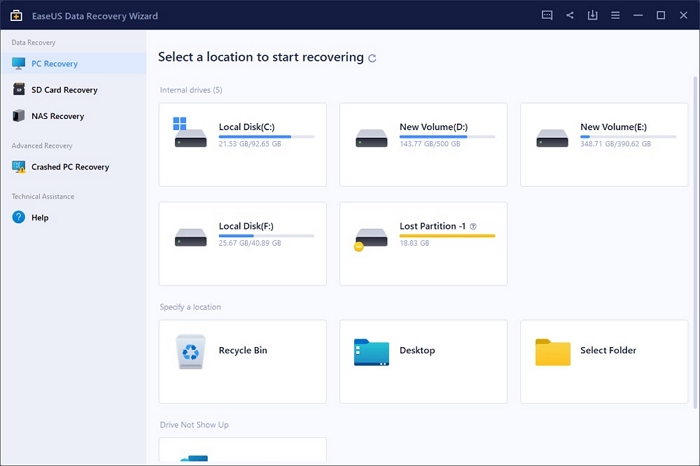
2. EaseUS Data Recovery Wizard
EaseUS is one of the most well-known disk recovery applications. Like Eassiy, EaseUS can support large number of file types and storage systems, and account for many data loss scenarios. It has a good range of disk recovery features that you can access through subscription.
Pros:
- Fast and reliable recovery scanning
- Can repair some file types and create bootable USB
- In the free version, upto 2GB can be recovered
Cons:
- Subscription model is priced higher in comparison.
- Excessive numbers of results that are hard to filter.
Pro Tips: High price but effective tool. Little hard to handle for newbies.
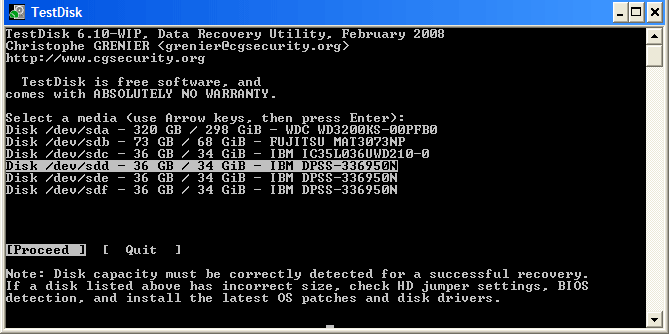
3. TestDisk
TestDisk is an open-source, community-supported disk recovery software that is designed to rebuild lost disk partitions and recover boot sectors to make disk drives bootable again. It accounts for a huge range of filesystems and is updated regularly.
Pros:
- Proficient in recovering and rebuilding disk partitions and boot sectors from backup
- Accounts for many data loss scenarios
- Open-source and supports many partition types and OS - DOS, Linux, FreeBSD, NetBSD, OpenBSD, etc.
Cons:
- Command-line based interface disk recovery solution which is not for everyone
- Can repair filesystems but not files.
Pro Tips: Technical tool and open source. Made for pro users.
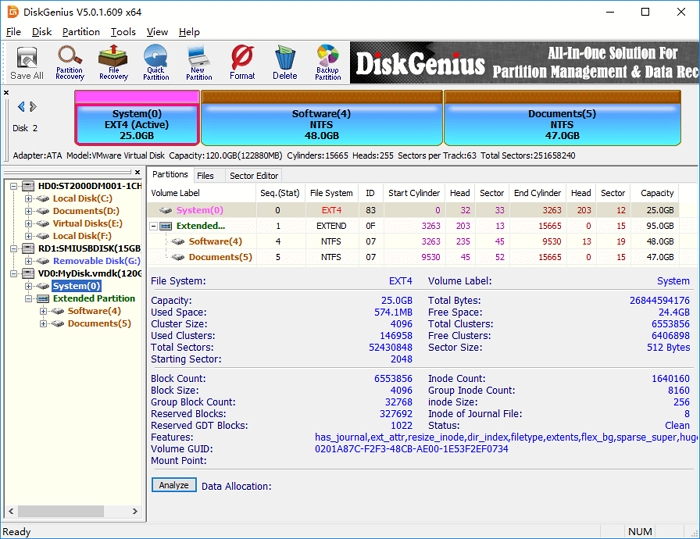
4. DiskGenius by Eassos
DiskGenius is an intuitive software that is ideal for disk recovery as it can recover deleted files, restore lost partition tables from back, clone disk drives and repair bad disk sectors. It has the ability to read S.M.A.R.T information that reveals disk drive condition.
Pros:
- Quick scanning speed.
- Ability to create bootable USB drives.
- Hex editor for disk structures for advanced users.
Cons:
- User interface is efficient but slightly complicated.
- Preview feature is lacking and no thumbnail view.
Pro Tips: Too much information to process. So be careful of what you are doing while handling the tool.
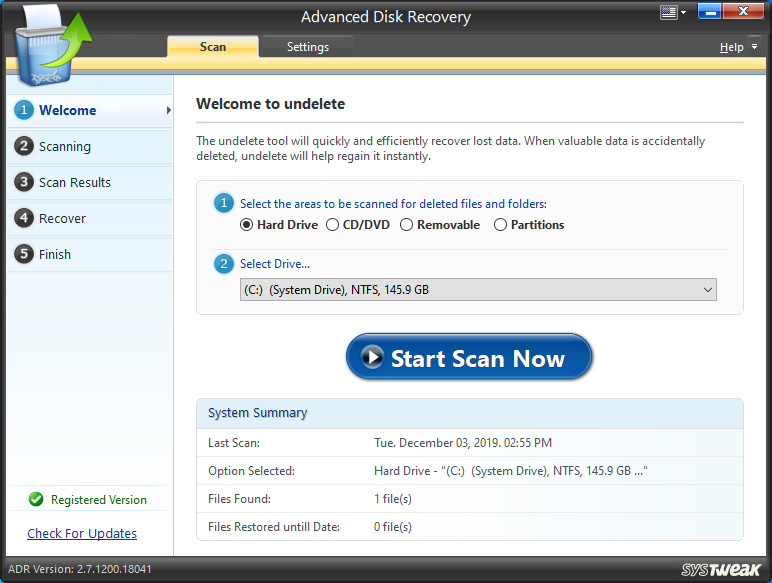
5. Systweak Advanced Disk Recovery
Advanced Disk Recovery by Systweak is a well-liked solution for recovering lost or deleted documents, multimedia and other files types from a range of storage devices, including damaged disks. It has all the usual functions that allow you to review and recover data from formatted and damaged disks.
Pros:
- Supports multiple file types, filesystems and storage types
- Quick and deep scanning options
- Comparatively affordable
Cons:
- Preview option not available and very limited customer support for free version.
- Slightly clunky and old-fashioned GUI.
Pro Tips: Advanced disk recovery solution with damaged disk data recovery system. Use it carefully.
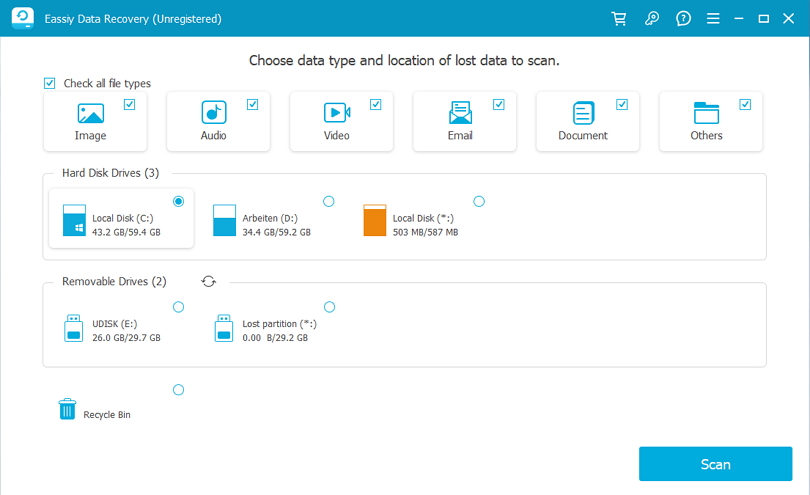
B. Step-by-Step Guide for Data Recovery using Eassiy
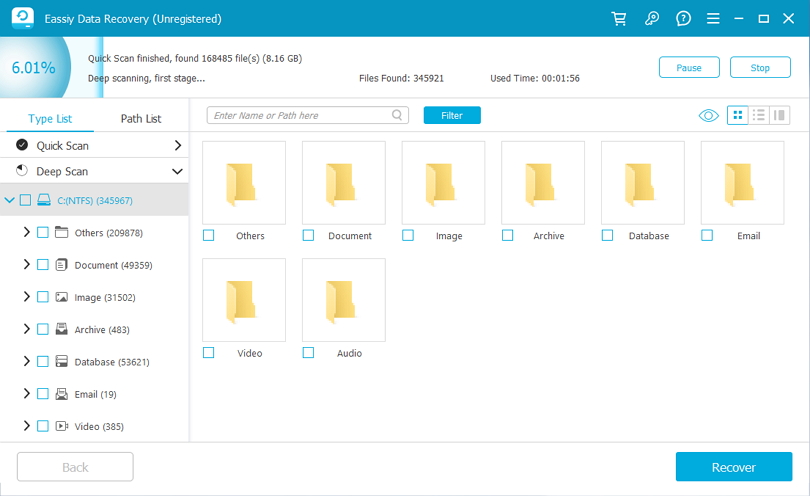
Step 1: Launch Eassiy Data Recovery. It will automatically find all the internal and external drives and show them on the interface.
Step 2: Select the “Lost Partition” and click Scan.
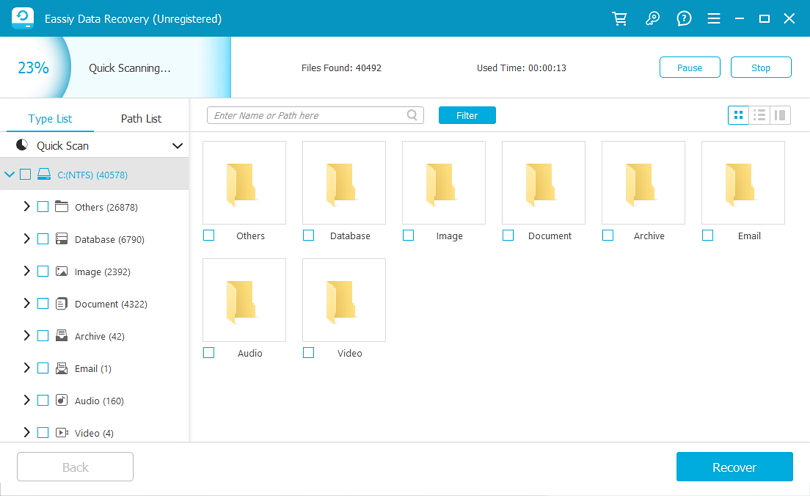
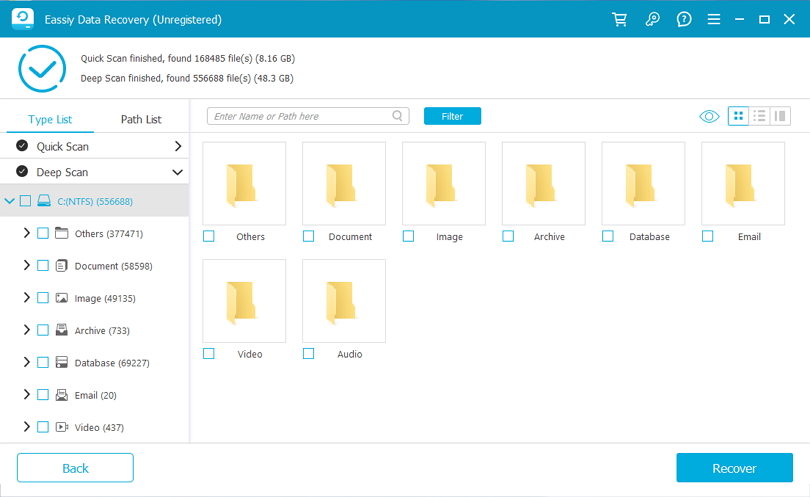
If you feel that you require further results, choose the Deep Scan option and perform the Scan again.
Step 3: Review the results, choose the files you want to keep and click Recover.
Part 3: Create Recovery Disk for Windows for Disk Recovery Free
Windows OS gives you the option to create a “recovery disk”. In case of massive system failure, you can use the recovery disk to do a fresh installation of the Windows OS in your PC. Keep in mind that this only restores your OS in its factory settings and not your personal data. However, when your system completely malfunctions or even fails to boot, this becomes the only option. You can use the recovery disk to troubleshoot various HDD problems if needed.
A recovery disk is created in an external storage drive. It can be done in a CD, DVD disk, external USB flash drive or an ISO file.
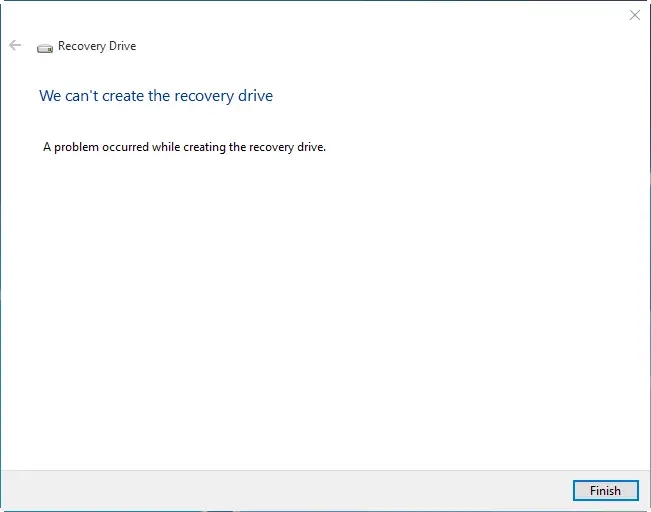
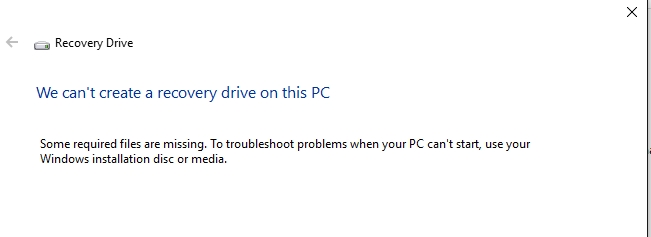
After beginning the process, you may run into some issues creating the recovery drive and get error messages like these:
- Ensure the drive has at least 16 GBs of free space
- Use System File Checker (SFC) from Properties to check the integrity of the drive
- Check your drive for virus/malware.
- Format your USB drive. You may need to format it to a filesystem such as FAT32, but make sure that it is formatted properly.
- Use another flash drive
- You may choose to create a Windows Installation Media instead.
With these factors in mind, let’s answer the question “how can I create a recovery drive in Windows”. If you are running Windows 11 and 10, creating a Recovery Disk is very easy – follow the steps in the next section.
A. Windows 10/ Windows 11 Recovery Disk
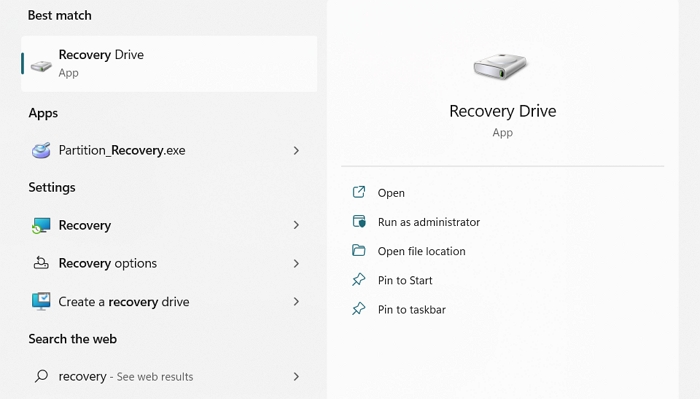
Step 1: Plug in your USB drive. Go to Cortana Search Bar, or the Search Bar in the Control Panel, type “recovery” and select Recovery Drive or Create a recover drive.
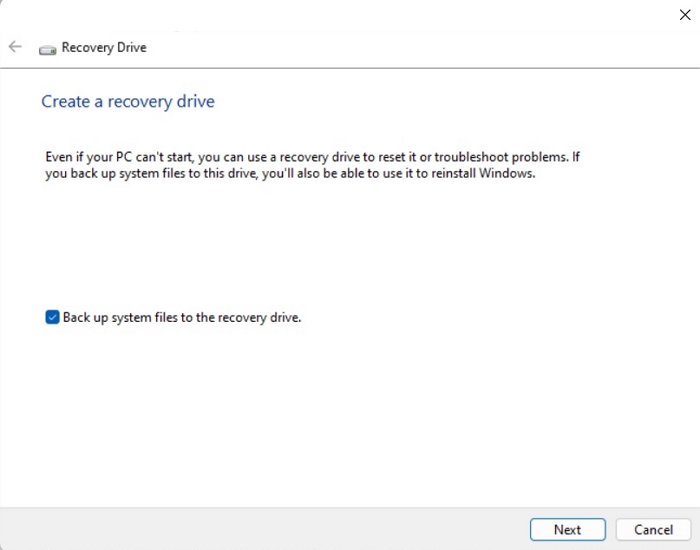
Step 2: This will run Recovery Media Creator. Make sure that Back up system files to the recovery drive is selected and click Next.
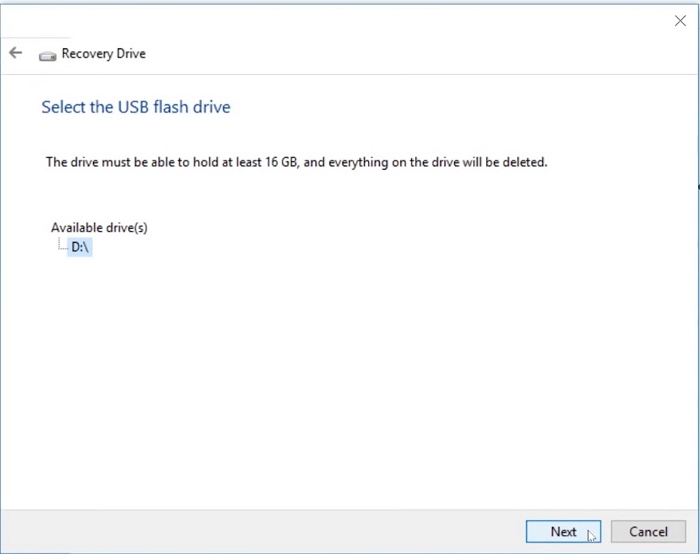
Step 3: The tool will automatically detect your drive. Select it and click Next.
Step 4: In the next screen, click Create.
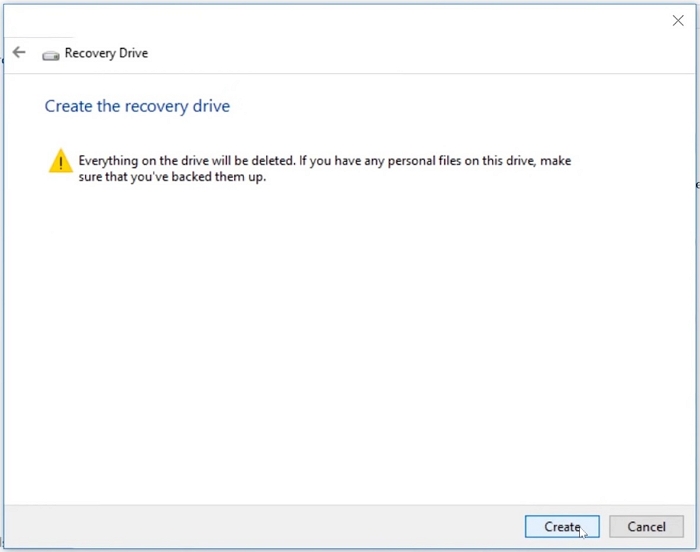
It will take a while to complete the process and your drive will be prepared to be used as a Recovery Drive.
B. Recovery Disk for Older Windows Versions
Windows 8:
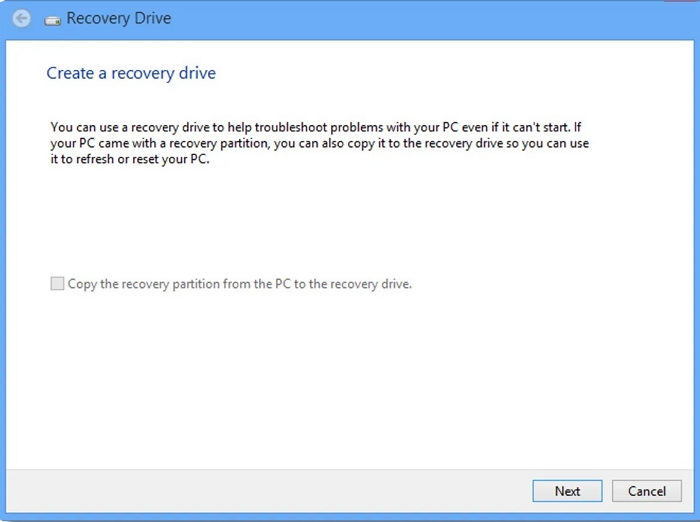
Step 1: In the search bar, type “recovery”, then click Create a recovery drive. If you don’t see it then click Settings after searching and you’ll find this option.
Step 2: In the tool, make sure Copy the recovery partition from the PC to the recovery drive is selected. Click Next.
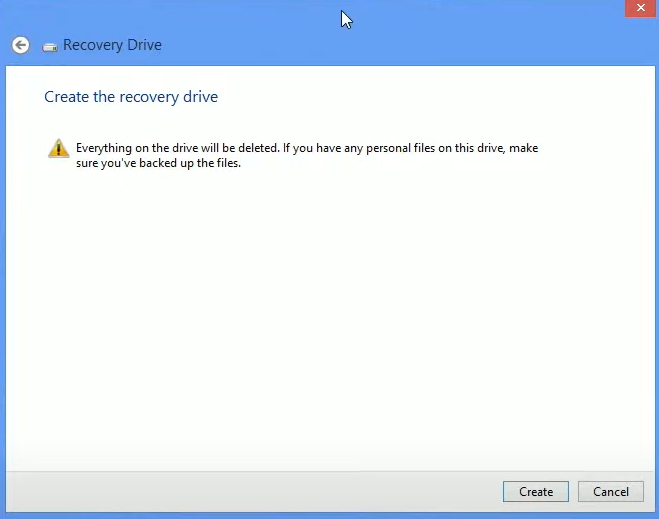
Step 3: Insert your USB drive and Windows will automatically detect it. Ensure it has the free space dictated by the message box. Select it and click Next.
Step 4: Click Create. Windows will create a recovery partition which it will copy in the drive.
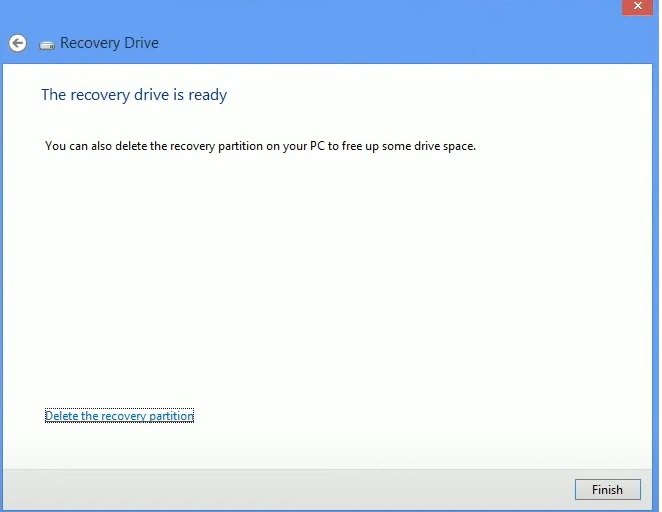
Step 5: The process will finish. Click Finish or if you want to delete the created partition, click Delete the recovery partition.
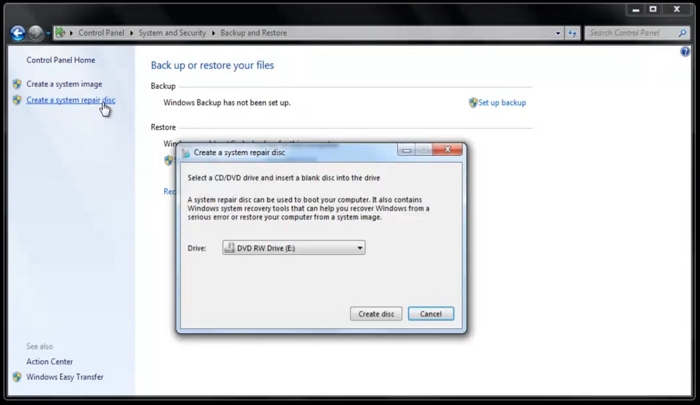
Windows 7:
Step 1: Go to Control Panel. Scroll down and click Backup and Restore.
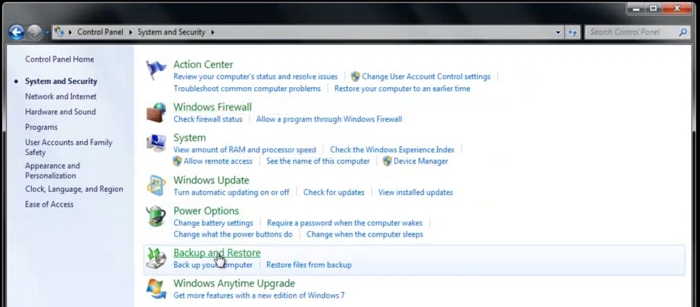
Step 2: Click Create a system repair disc. Insert a blank disk in your disk drive, select the drive and click Create disc.
Conclusion:
In conclusion, disk drive partition loss or data loss stopped being a big issue thanks to the advanced technology from both operating systems and third-party software. We looked at several methods like SFC, CHKDSK and disk recovery solutions. We also learned how to easily recover lost partition data with Eassiy Data Recovery application. As the saying goes, prevention is better than cure.
So always be mindful about keeping backups of your important files in external drives. In case you do need to install your OS from a bootable USB or mountable image, you can get back your data in their original state. Perform virus scans and keep your antivirus software up-to-date. While keeping external backups in flash drives, external HDDs and cloud drives, remember that it is important to store them in safe areas, keep them password protected with two-factor authentication if possible. Lastly, regularly create System Restore Points in Windows.
By keeping these in mind, you can preserve your disk health. In case your disk is damaged due to unforeseen circumstances, don’t be afraid to seek professional support from disk recovery engineers. Last but not the least, use the disc recovery functionalities of Eassiy Data Recovery for your disk recovery needs – especially you need to quickly recover all types of data with its state-of-the-art detection algorithm, data encryption and 24/7 customer support.