
Updated on 2025-05-09
views
5min read
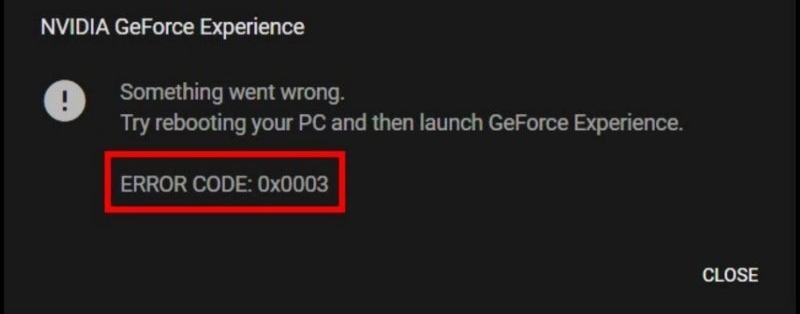
“Something went wrong. Try rebooting your PC and then launch GeForce Experience”. That’s the message thousands of users see when GeForce Experience runs into the infamous 0x0003 error. You follow the advice, reboot your system, and launch the app again. However, when you’re met with the same error over and over, it becomes frustrating. And yes, even in 2025, it’s still happening.
This 0x0003 error often appears after a driver update, a system cleanup, or seemingly out of nowhere. Still, you’re not out of options. There are several small but essential tweaks that can bring things back to normal, even now. And no, the only fix isn’t “just upgrade to the NVIDIA App”. Many users still prefer the classic GeForce Experience for its lightweight design and built-in game recording options. Next, we will show you the 2025 updated ways to fix GeForce Experience Error Code 0x0003 on Windows.
Quick Fixes for GeForce Experience Error Code 0x0003 on Windows 11/10
Way 1. Turn off VPN
Any active VPN, or even DNS-level blockers, can interfere with how GeForce Experience connects to Nvidia’s servers. Some users have also reported issues when using DNS blockers like Pi-hole.
The solution is to disable your VPN temporarily: pause or turn off your VPN and relaunch GeForce Experience to see if the error disappears.
If the VPN is the cause but you still need the connection to reduce ping or stabilize connections while playing, make sure to exclude Nvidia apps from the VPN tunnel. Most premium VPNs allow you to whitelist apps—do this for GeForce Experience and all its related services.
After adjusting these settings, open GeForce Experience again, you’ll go from “Something went wrong” to everything working as it should.
Way 2. Check Cleaner and Antivirus Software
Another major threat to GFE’s stability and why it shows the 0x0003 error comes from PC cleaner tools and antivirus software.
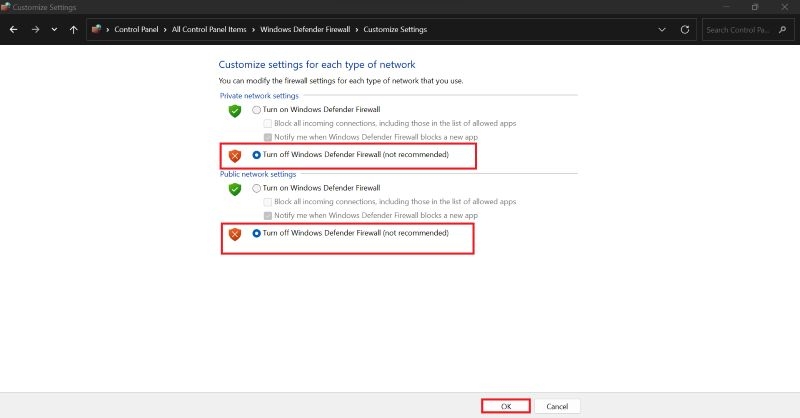
First, whitelist all Nvidia entries from your system firewall. Then, temporarily disable the Windows Defender Firewall or any third-party firewall you have running and test GFE again.
Also take a hard look at popular PC cleaning tools like CCleaner or Glary Utilities. In fact, there is a long list of apps known to conflict with GFE, including: Kaspersky Internet Security, Panda Antivirus, Razer Synapse, ASUS GameFirst Network (a network optimization tool), and even Discord.

So, make sure these aren’t running in the background while you're trying to use GFE. If the issue disappears after closing them, consider switching to alternatives, like using Discord Web instead of the app or uninstalling and disabling the conflicting tools entirely.
Way 3. Force Start Nvidia Services
GFE relies on a bunch of background services to work properly. If these services aren’t running (or were disabled by Windows or another app), GFE will throw the 0x0003 error. Here’s how to make sure all required services are running and set up correctly:
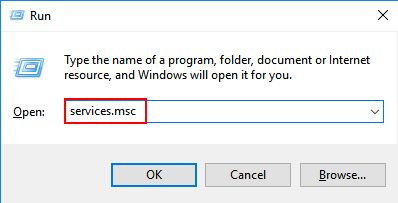
Step 1. Press Win + R, type services.msc, and hit Enter. This will open the Services management window.
Step 2. Scroll through the list (it’s alphabetical) and look for all services starting with NVIDIA. The key ones for GFE include:
- NVIDIA Display Container LS
- NVIDIA Local System Container
- NVIDIA Network Service Container
- NVIDIA Telemetry Container (on older versions)
Step 3. For each NVIDIA service, right-click and choose Restart.
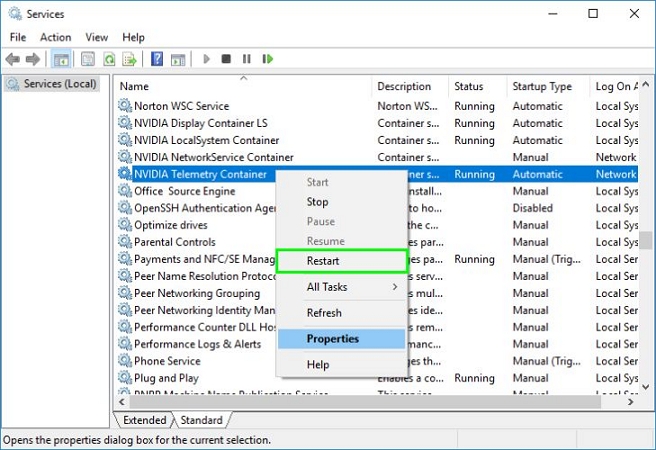
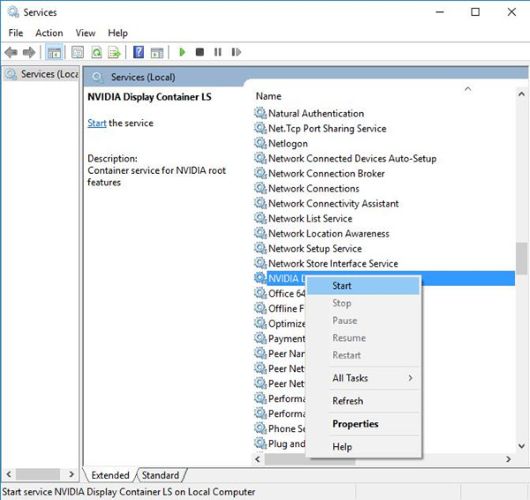
Note: If some service has stopped or disabled, you’ll see the Start option instead, click that to re-enable it.
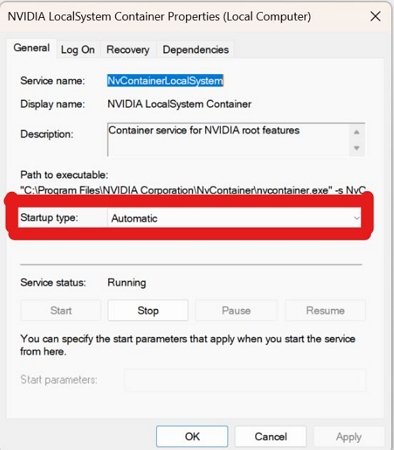
Also, make sure these services are set to start automatically at boot by double-clicking each service, and under Startup type, set it to Automatic. This will help prevent future 0x0003 errors, especially when Windows leaves these services off by default after updates.
Way 4. Update Nvidia GPU Driver to the Latest
Outdated or corrupted graphics drivers are a classic culprit behind GeForce Experience acting up, especially when it throws error code 0x0003. The fix is simple: get your drivers updated. There are two ways to do this.
Option 1. Standard Driver Method
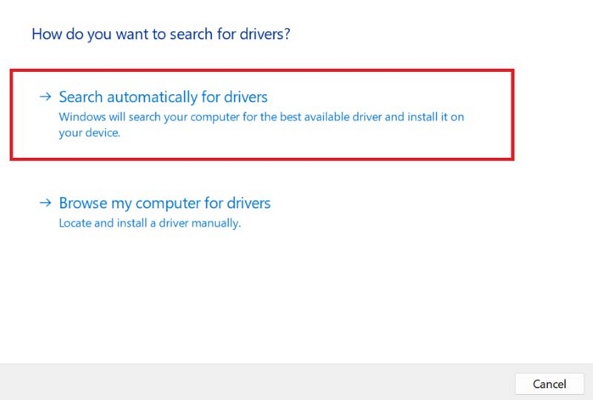
Step 1. Press Win + X and select Device Manager. Expand Display adapters, right-click your Nvidia GPU, and hit Update driver.
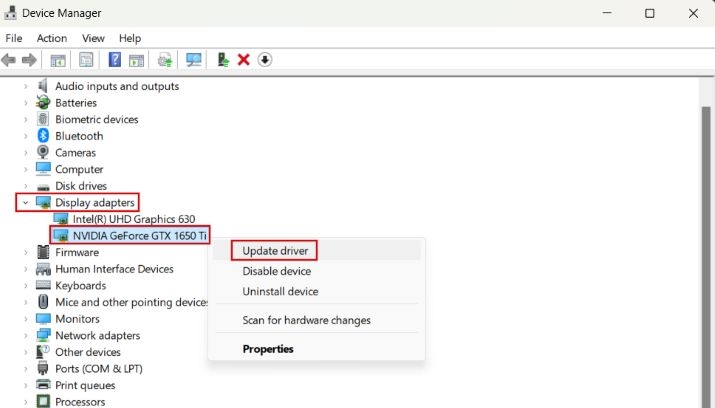
Step 2. In the next window, choose Search automatically for drivers. This tells Windows to look for the latest supported drivers via Windows Update.
Once updated, reboot your PC and launch GFE again. In many cases, this alone is enough to resolve the error.
Option 2. Manual Driver Install (Recommended for Accuracy)
It’s normal for Windows to get confused and grab the wrong package while automatically searching for drivers. With the manual method, you get full control over exactly which GPU driver you're installing. Here are the steps:
Step 1. Go to the Nvidia Driver Download Page. From here, use the drop-down menu to match your exact GPU model.
Step 2. Under Product Series, select your GPU series (e.g., RTX 30 Series).
For Download Type, choose Game Ready Driver (for gaming) or Studio Driver (for creative apps like Photoshop or Blender).
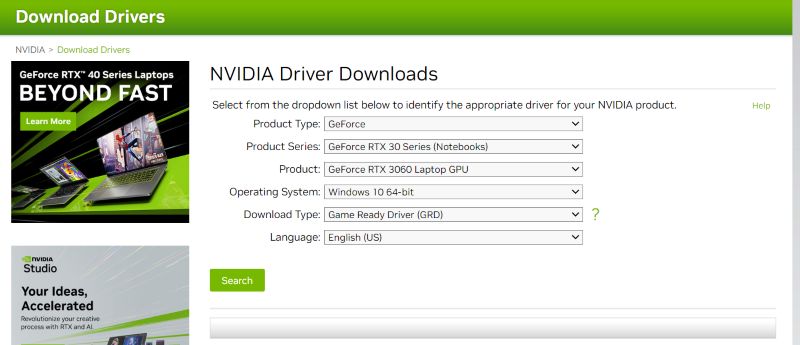
Step 3. Click Search > Download to get the latest version.
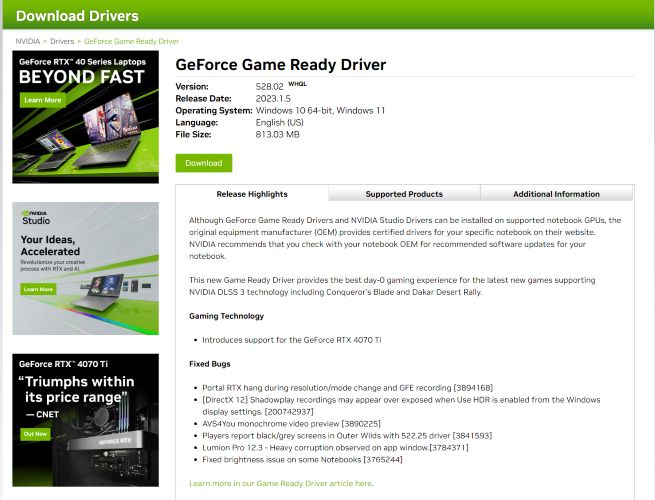
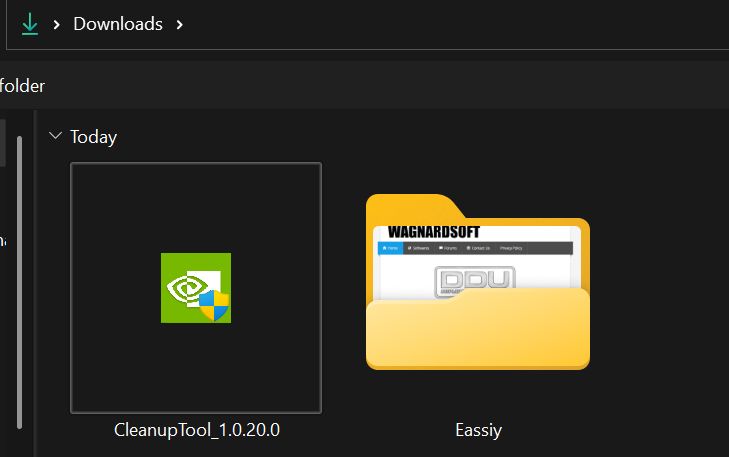
Step 4. Run the installer from your Downloads folder.

Step 5. When the extraction finishes, choose whether you want to install both the driver and GFE, or just the driver itself.
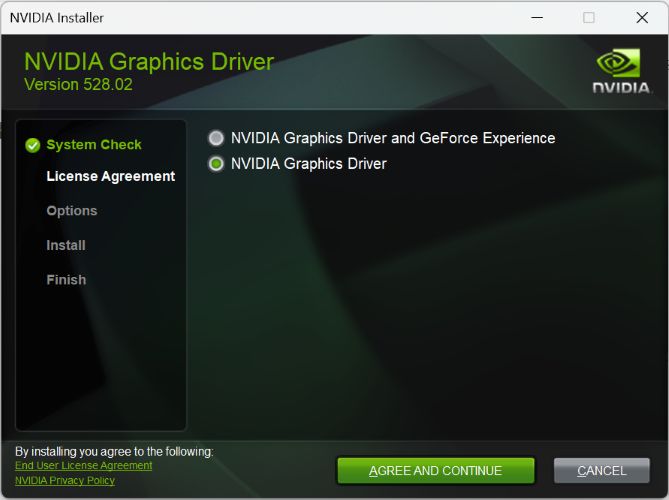
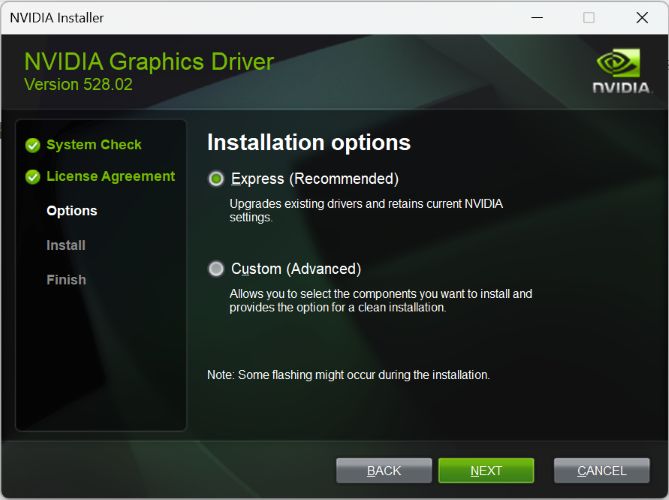
Step 6. On the next page, select Express (Recommended) and click Next to begin installation.
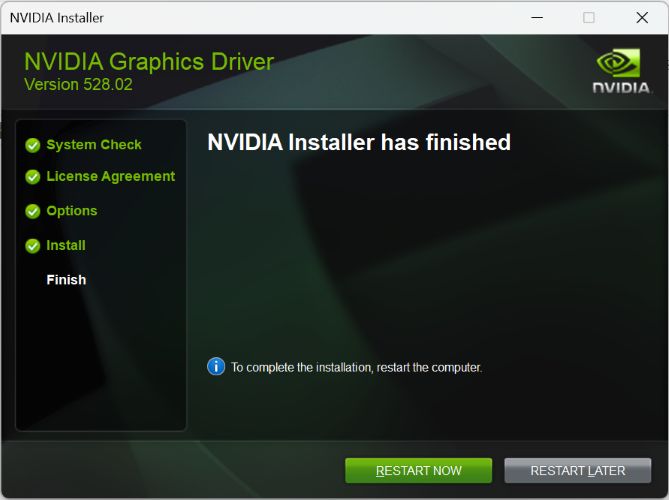
Step 7. Once installation completes, click Restart Now to reboot your system.
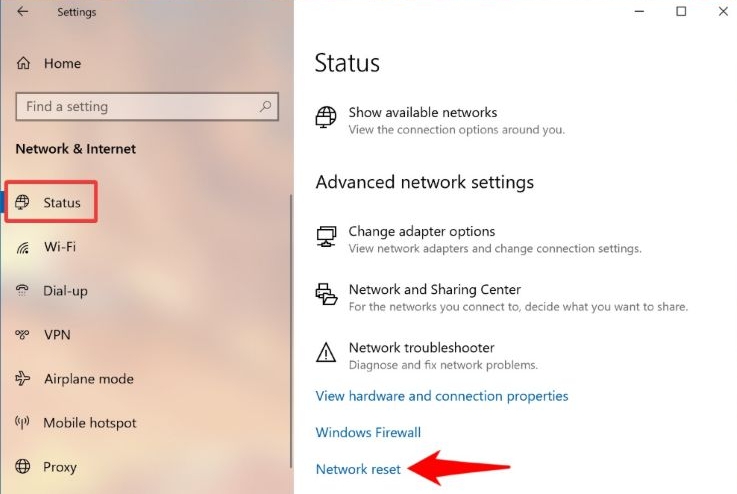
Way 5. Reset Network Adapter
If none of the above has worked, there’s a good chance the network stack on your PC is the problem. GFE needs to communicate over your network (even locally, between its own services), and a funky adapter or broken WinSock configuration can easily break that connection and show the 0x0003 error. Here’s how to fix it:
Note: After resetting your network settings, you’ll need to reconnect manually if you use a custom DNS or VPN.
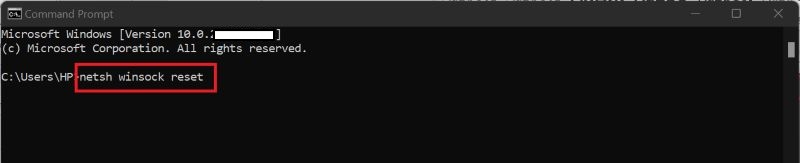
Step 1. Click the Windows icon, search for Command Prompt and choose Run as administrator.
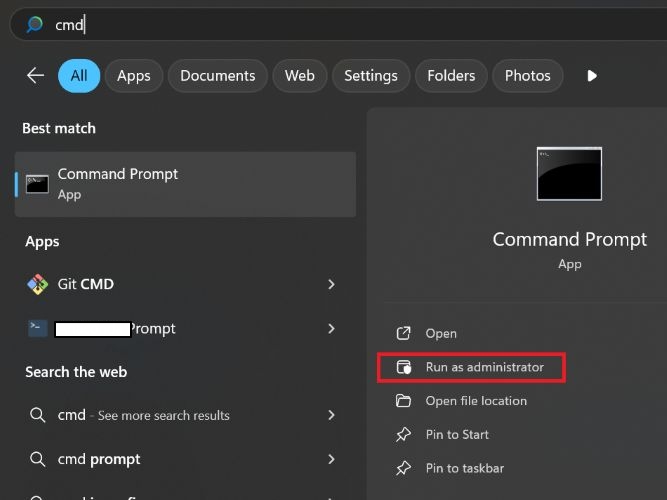
Step 2. In the Command Prompt window, type the following command and hit Enter:
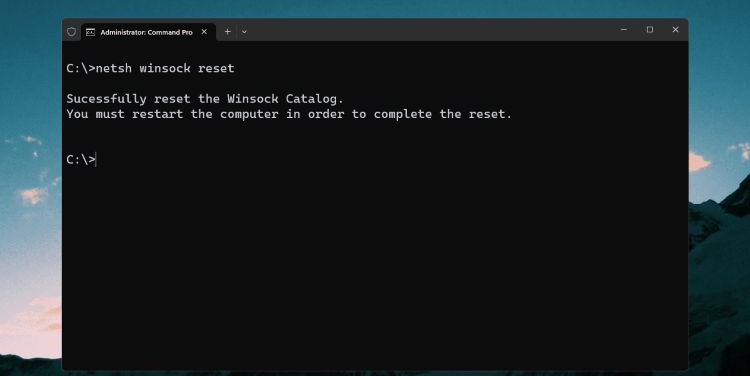
netsh winsock reset
This command will reset the WinSock sockets API, essentially clearing out any corrupted network handling linked to the issue.
You’ll see a confirmation message. After that, reboot your Windows PC to apply the changes. When you’re back, launch GFE again and error code 0x0003 should be gone.
Way 6. Allow Nvidia Telemetry to Interact with the Desktop
This fix is a bit of a blast from the past: it only applies to older versions of GFE, especially those running on Windows 10. In those versions, GFE relied on a separate service called the NVIDIA Telemetry Container, which needed to be running and correctly configured. So, if you're using an older setup, here's how to check and adjust it:
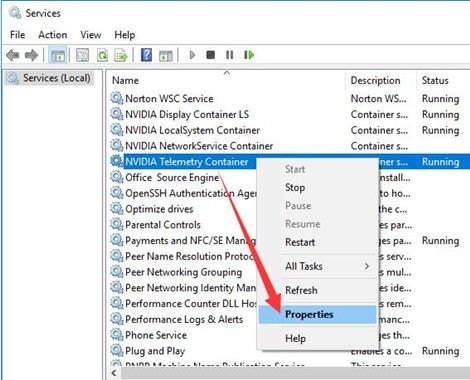
Step 1. Open the Services window again (Win + R > services.msc).
Step 2. Scroll through the list and find Nvidia Telemetry Container. Right-click it and choose Properties.
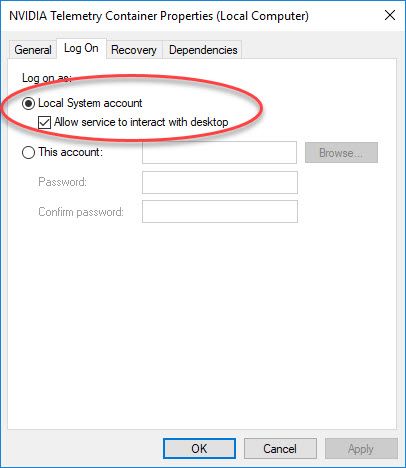
Step 3. Go to the Log On tab and check the box labeled Allow service to interact with desktop. Then, hit Apply to save the change.
Final Fix for GeForce Experience Error Code 0x0003 on Windows 11/10
If error code 0x0003 still refuses to go away after everything you’ve tried, this is where your final shot comes in. The method below offers the last way to fully reinstall the application.
Note: Don’t skip the steps and think it as a basic reinstallation. Follow the process carefully to make sure all related services, drivers, and files are rebuilt cleanly, because that helps fix the 0x0003 error.
Step 1. Uninstall GeForce Experience
Instead of normally reinstalling GFE, it’s best to do a clean uninstall using the official Nividia Cleanup tool. This method completely wipes out all Nvidia components from your system, including GeForce Experience, graphics driver, PhysX, and even extra packages like the HD Audio Driver, which are all tied to the GFE’s 0x0003 error. Follow these steps:
Step 1. Download the NVIDIA Cleanup Tool.
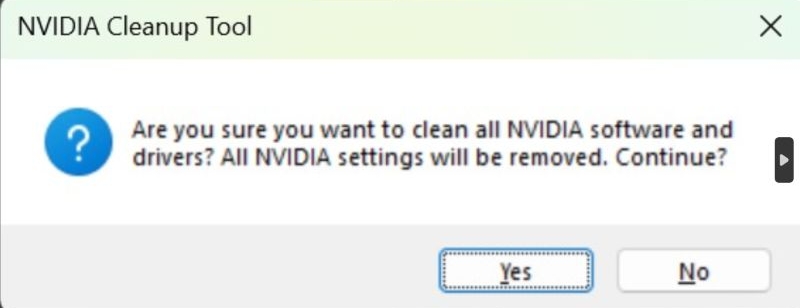
Step 2. Launch the tool, a confirmation will appear: Are you sure you want to clean all NVIDIA software and drivers?. Click Yes to proceed.
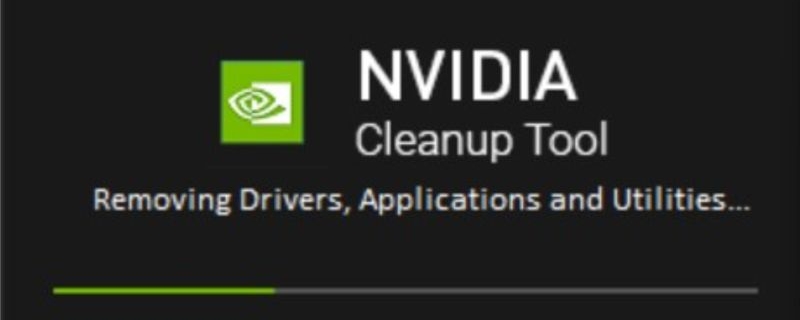
Step 3. The tool will begin removing all NVIDIA drivers, applications, and utilities. You’ll see a progress bar as it works.
Step 4. Once done, you’ll see a message confirming: Successfully cleaned NVIDIA software and drivers. Click OK to continue.

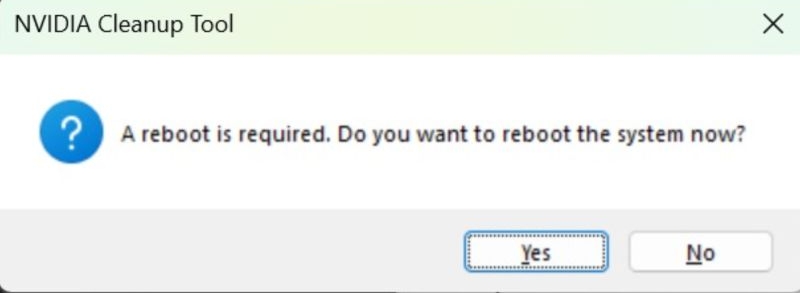
Step 5. A final prompt will ask to reboot your PC. Click Yes to restart and apply the changes.
Step 2. Reinstall GeForce Experience
Once you've fully removed GeForce Experience, it's time to bring it back. As of 2025, you're no longer limited to just the old tool. There are two distinct options for reinstalling.
Option 1. Reinstall the Classic GeForce Experience (Legacy)
If you're someone who prefers the familiar layout, built-in ShadowPlay recorder, and integrated game driver updates, then reinstalling the old GeForce Experience is the way to go. Although it’s no longer available on NVIDIA’s official site, you can still download stable versions from third-party sources.
Step 1: Visit trusted software repositories like Uptodown, FileHippo, or FilePuma. A commonly used version is 3.26.0.131. On FilePuma, search for the version number and press Free Download to get the installer.
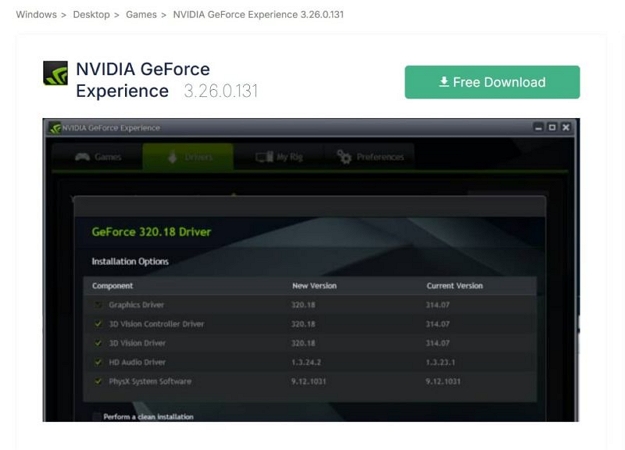
Step 2: Run the setup and install GeForce Experience as usual. After installation:
- Sign in with your NVIDIA account when prompted.
- You’ll regain access to driver downloads, game optimization settings, and the interface you’re used to.
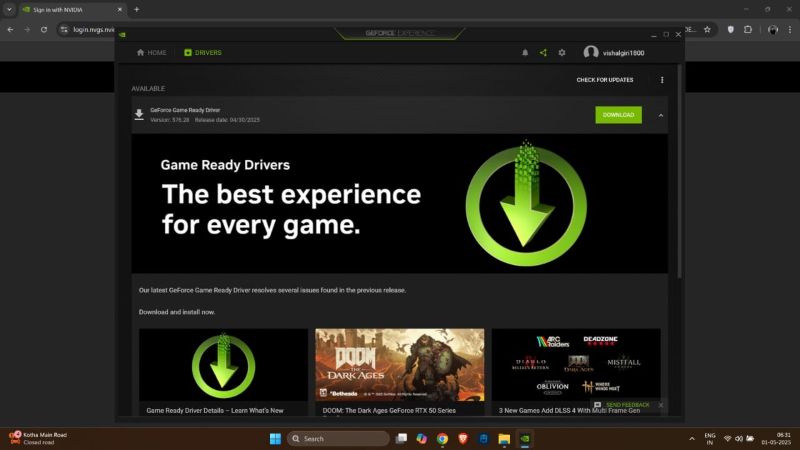
Note: One issue remains. When inside the legacy app, you will notice a persistent gray bar with the Download button in the Drivers section. Clicking on the prompt will take you to the new NVIDIA App download page. So if your 0x0003 issue is resolved after reinstalling via third-party vendors, you can prefer to keep this legacy version running or simply hold off on any updates.
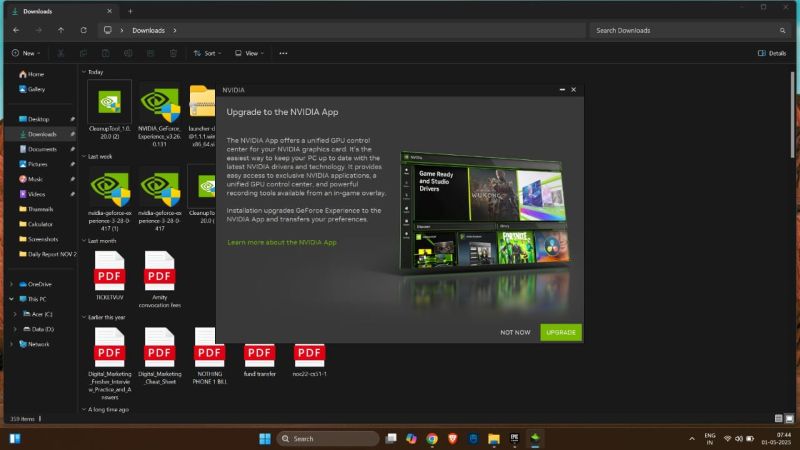
Option 2. Try the New NVIDIA App (2025)
Still seeing the 0x0003 error after reinstalling? It’s really time to use the NVIDIA App, as it will remove any such errors and is actively supported in 2025.
Yes, NVIDIA App demands more from your system, but you can handle them via smart performance tweaks. The most important one is to turn off built-in screen recording and in-game overlay.
Instead, you can run feature-rich yet lightweight Eassiy Screen Recorder Ultimate side by side with the NVIDIA App, unlocking high-quality screen capture, webcam support, scheduled recordings, and more.
That said, here are the steps to get the new NVIDIA app:
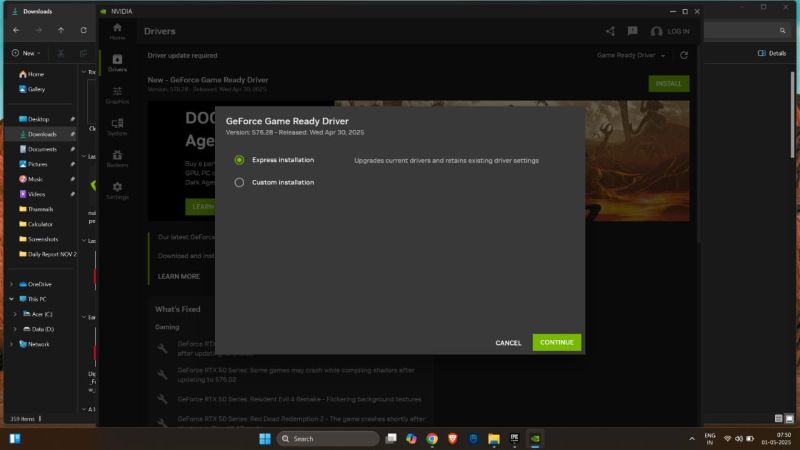
1. Head to the official NVIDIA App download page and get the latest installer. Install the app and launch it.
2. Use your NVIDIA account to sign in. Once inside, you'll be prompted to install GDR drivers via Express or Custom Installation. Either option works.
Bonus: Geforce Experience Screen Recorder Not Working
If GeForce Experience’s ShadowPlay isn’t working or if you don’t prefer the new power-hungry Nvidia app, you don’t have to struggle. A smarter option is to switch to a game-friendly recorder suite like the Eassiy Screen Recorder Ultimate.
Eassiy Screen Recorder Ultimate comes with multiple dedicated game recording modes: like full screen, game-only, window lock, and webcam overlay. You can even record your gameplay and facecam side by side, making it ideal for Let’s Plays, walkthroughs, or getting streaming-worthy captures.
Plus, unlike ShadowPlay (limited to 360p/720p and 30fps in many setups), Eassiy Screen Recorder Ultimate supports recording up to 4K, with smooth capture at 60fps. And the best part? It does this without draining system performance.Another key strength: Eassiy almost works with every game but not just a curated list like Nvidia’s tools.
Eassiy Screen Recorder Ultimate
An all-in-one tool for smart screen recording, effortless interface capturing, and powerful editing features.
Key Features
- Advanced audio controls, like capture only game audio, only microphone, or both. You can even fine-tune the individual volume levels of system sound and mic input.
- 10+ recording and built-in editing tools, such as auto-split long recordings, applying real-time annotations, or setting up scheduled recordings.
- Take quick screenshots or use the scrolling screenshot mode to capture a 360-degree view of your game environment.
- Set up personalized shortcuts for taking screenshots, starting or stopping recording, switching modes, etc.
Steps to Record Games Using Eassiy Screen Recorder Ultimate
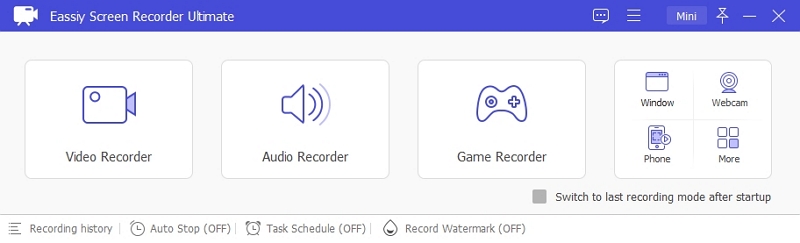
After installing Eassiy software on your Windows device, launch the program whenever you want to record a game. Follow these steps from the main screen:
Step 1. From the main screen, choose Game Recorder. This ensures that only your gameplay window is recorded.
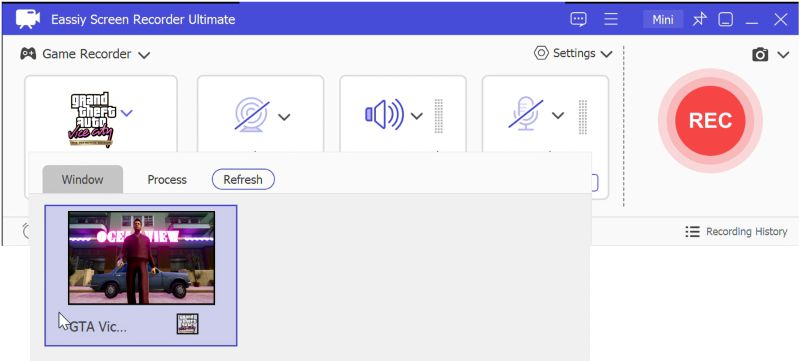
Step 2. In the game drop-down menu, select the specific window or game you want to capture. Once selected, press the Record button. An overlay menu will appear, giving you live control.
When you're done playing, just hit the same Record button again in the overlay to end the record.
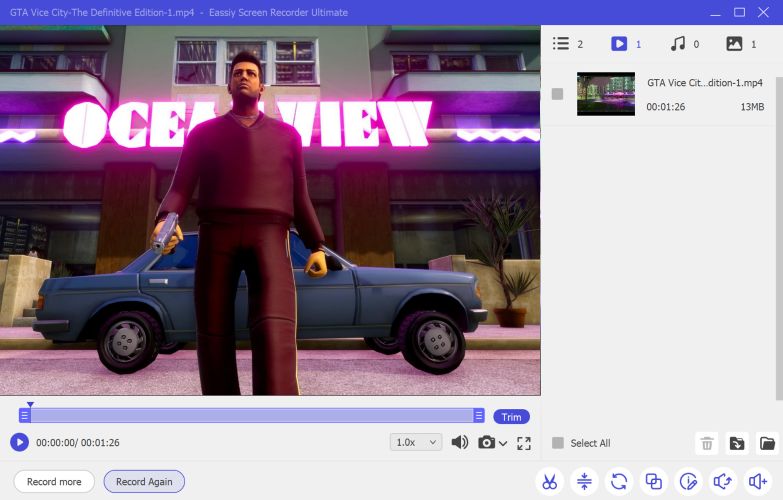
Step 3. Eassiy will automatically save your gameplay recording. Head to the Recording History panel and you’ll find all your saved videos here.
From here, you can trim, cut, or fine-tune the footage before uploading to YouTube, sharing with friends, or saving for highlights.
Wrap Up
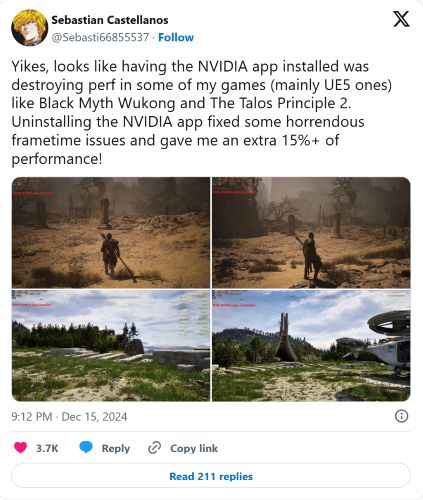
So, that’s everything on GeForce Experience error code 0x0003. It is often fixed by restarting services, updating drivers, or fully reinstalling via tools like DDU. As NVIDIA shifts to the new app, users no longer receive the code. However, using the NVIDIA app drastically reduces your game performance.
That’s where Eassiy Screen Recorder Ultimate steps in as a game-friendly recording tool. It offers stable yet high-quality game capture across all titles, with real-time overlay, webcam modes, and full 4K/60fps support. Whether you're recording games to share highlights or creating stream-worthy content, Eassiy gives you the freedom to record exactly how you play without frame drops or limited compatibility.